Well it’s January 2021 which means the majority of people are analyzing their life, deciding what they’d like to change, and (hopefully) making steps in the right direction. I know the people at my gym are, based on how challenging it is to get a parking spot before 6am every morning! I’m not mad though, I genuinely hope they'll keep it up. Having an active lifestyle will positively spill over into every area of your life! THAT’S. A. FACT.
Along with your new gym membership, I imagine there are other changes you’d like to make, and creating a personalized vision board is a great way to motivate yourself! I’d like to say I’ve been consistent over the years with my vision boards, but I haven’t. I really enjoy creative outlets and setting goals, and find it easier to dream when I’m able to look at those goals every day. It’s also a fun way to reuse magazines that you’ve already read through once because let’s be honest, who reads them twice? Full disclosure: I don’t even read magazines. I use other people’s magazines for my vision boards!
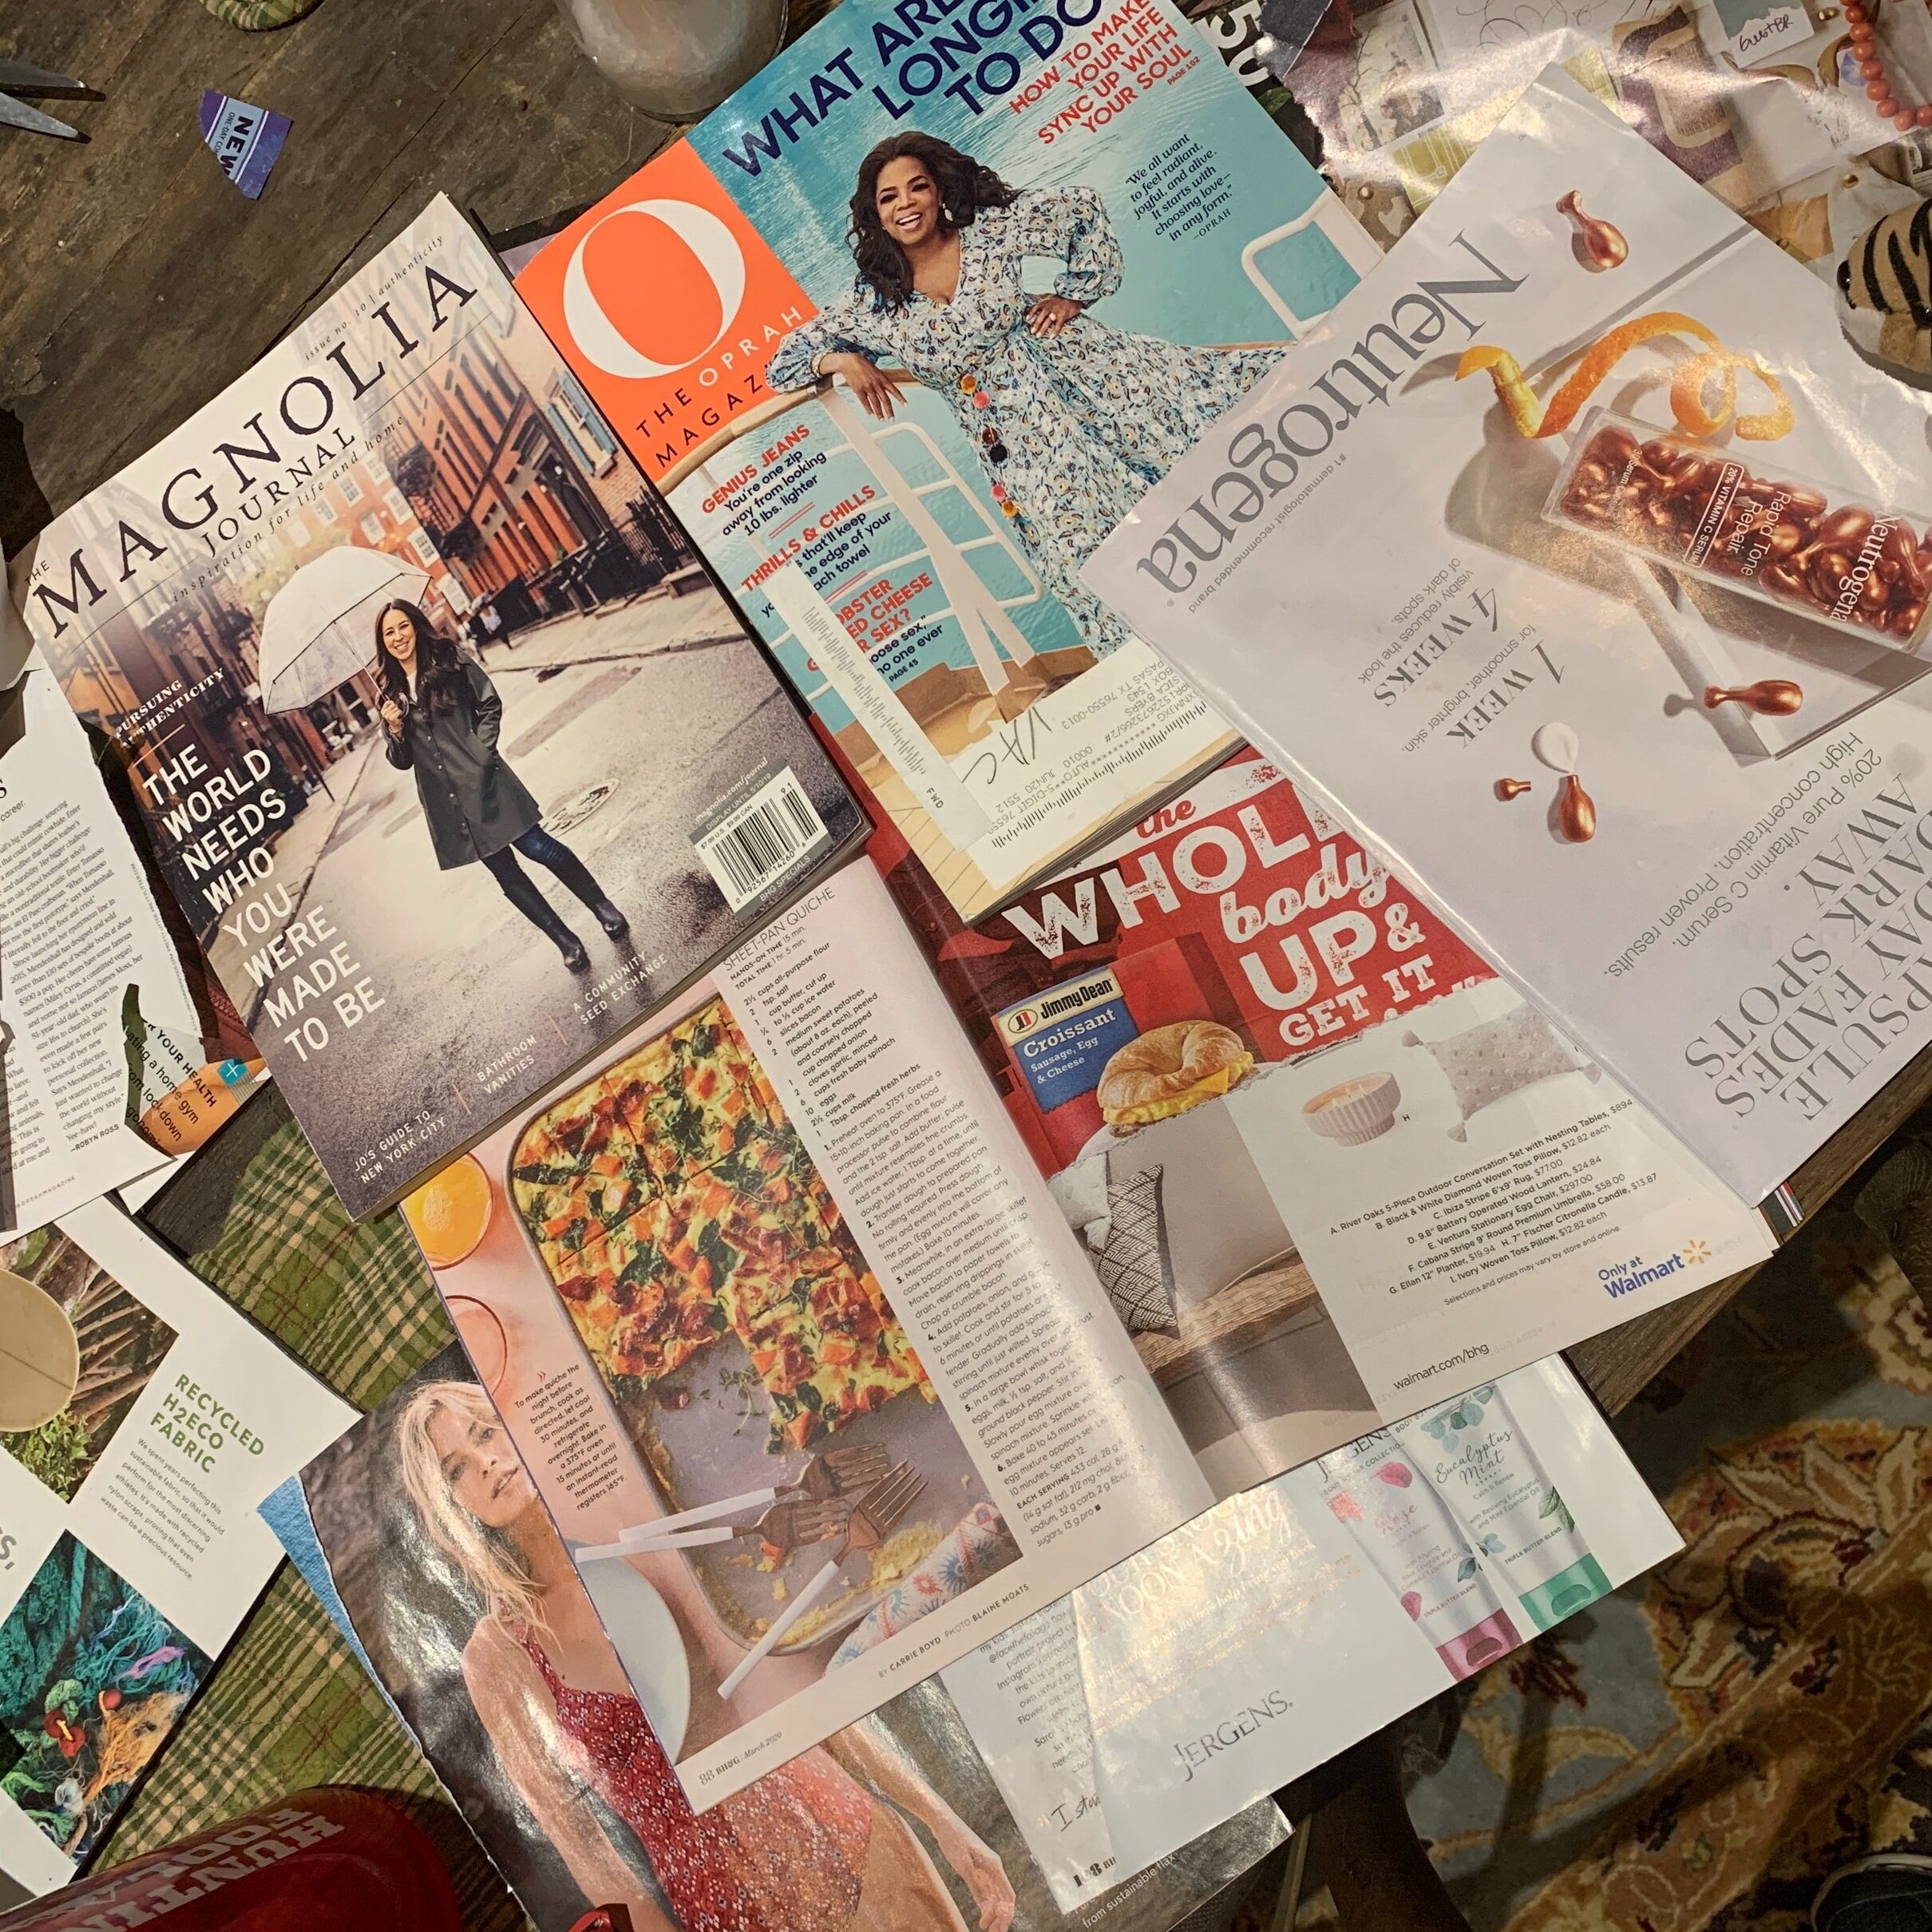
Grab all the magazines you can find! My favorite was definitely the Magnolia Journal
WHAT YOU’LL NEED:
Magazines (the more, the better)
Scissors
Glue/Tape (I use both); glue sticks work much better than bottled glue
Cardboard or Poster board (unfold an Amazon box - I know you have one!)
If you’re not a creative person naturally, you’re in the perfect place. It’s not likely that you’re choosing to read this if you have an artistic mind that can make anything beautiful! Regardless of what end of the spectrum you’re on, here are a few tips for making a vision board you’re proud of!
You can see where I used these large chunks of color for my background
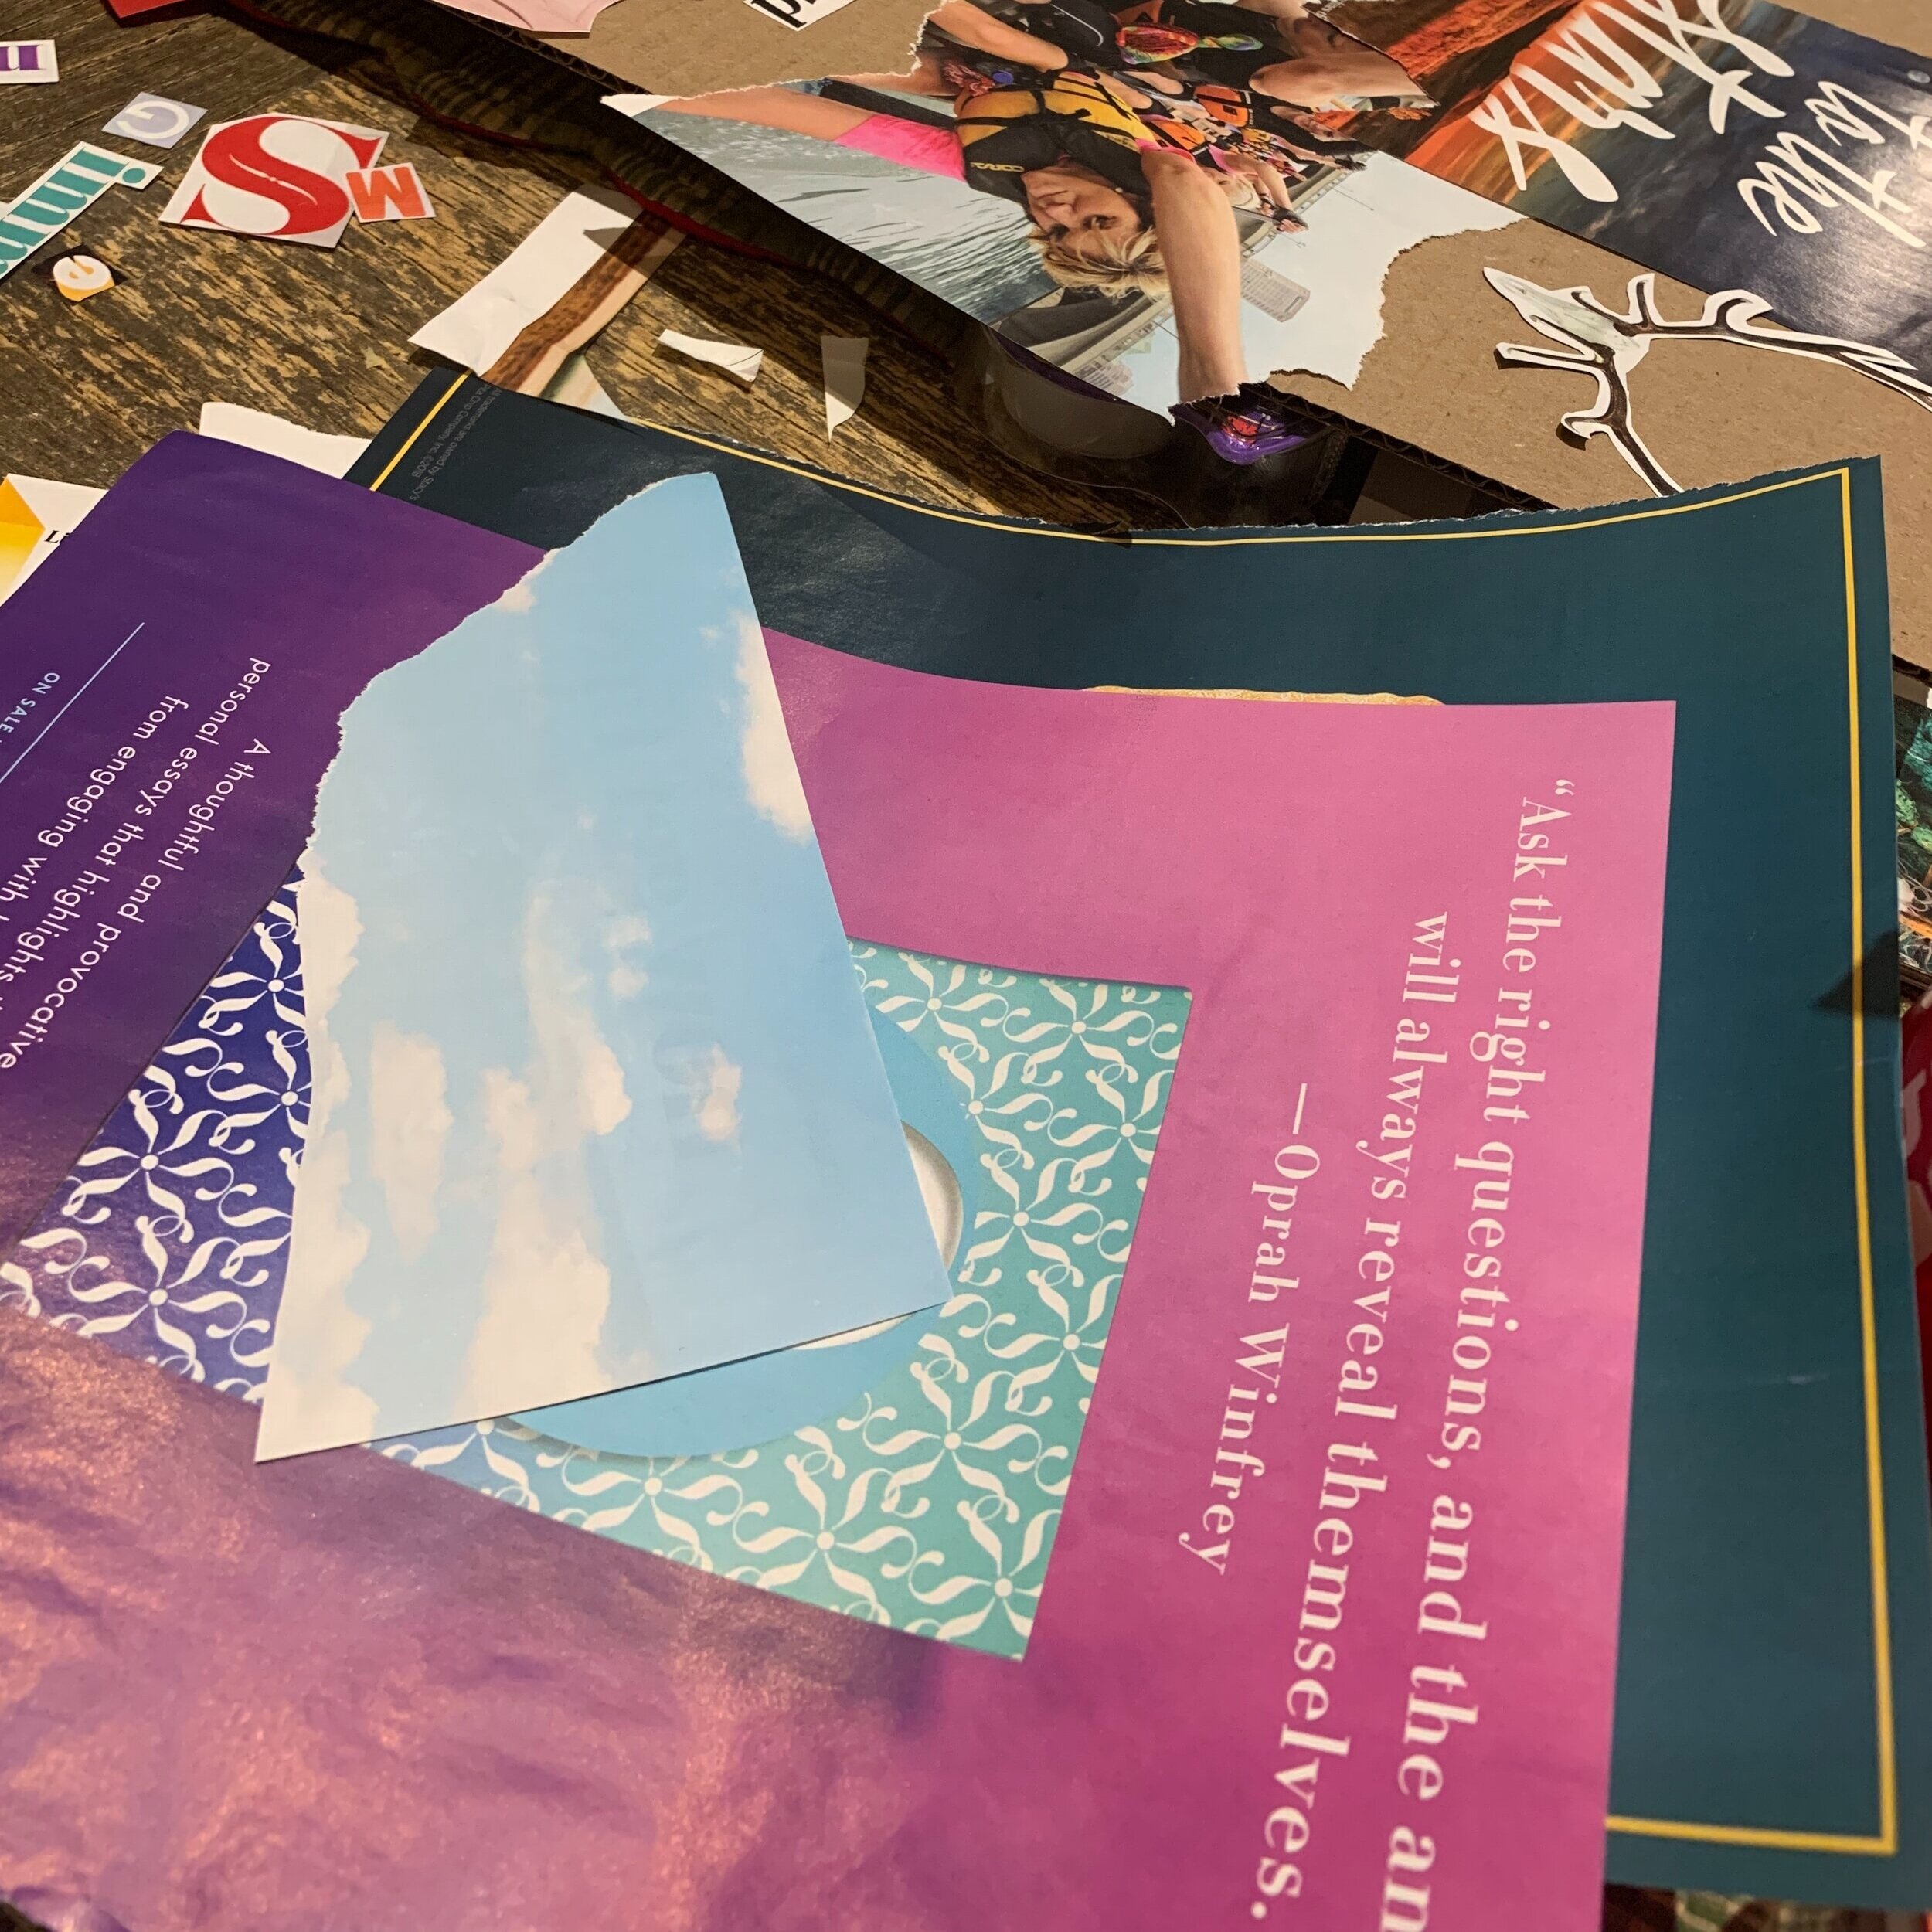
#1: Look for large areas of fun colors/patterns to fill in your background.
I knew I didn’t want cardboard to be the main background color, so anytime I saw a bright colored ad that wasn’t completely covered with text and photos, I’d rip it out. I’ve seen people use solid colored construction paper for the same reason, but I love searching random magazines instead! It’s more unknown and a great way to repurpose them.

Start a collection of letters and words. You may or may not use them, but there’s a reason they jumped out at you!
#2: Cut out Words & individual letters that jump out at you.
See a font you like? A color that grabs your attention? Cut it out! Then, you’ll be able to create any word or phrase you want and it’ll have its own personality. There were multiple cutouts that didn’t make it to my final piece of artwork, but at least I had them if I wanted them! It’s also fun to see what words jump out at you - pay attention to the ones that “speak” to you the most because you probably NEED to see those every day!
#3: tear the edges rather than cutting with scissors Every time

A mix of torn edges and cut out edges using scissors!
This is one of my favorite tips because the torn edges add lots of character! Or, you can mix it up and tear part of the image then cut out the rest (see potted plant photo for reference).
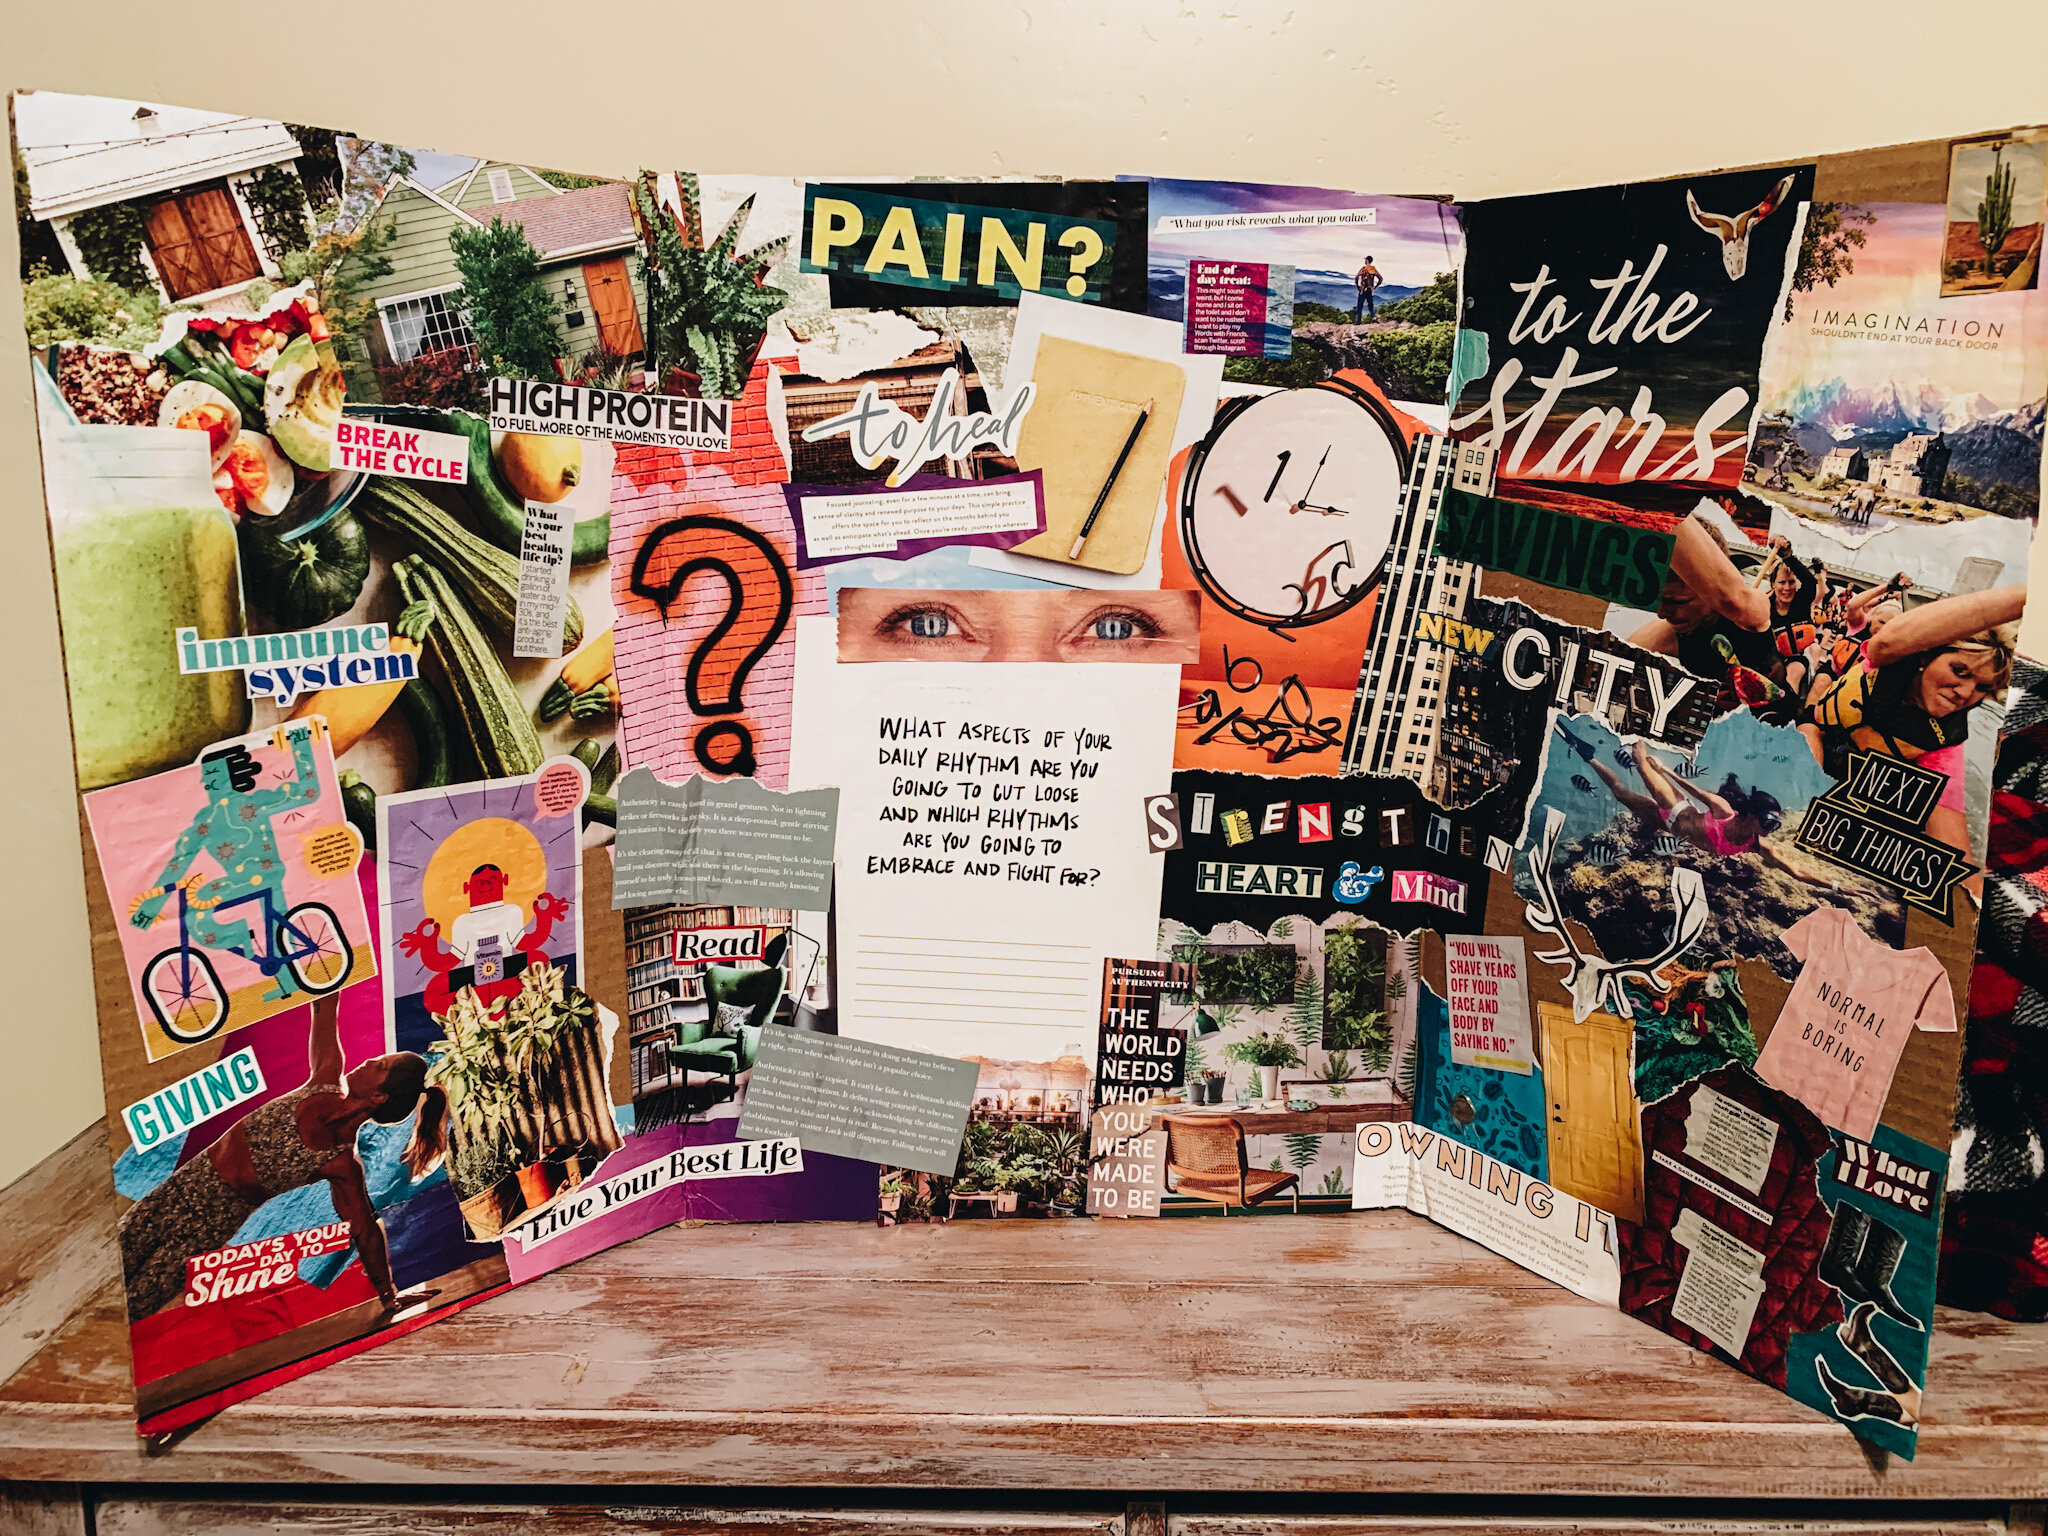
#4: Categorize your board
I’d suggest focusing on specific areas of your life and having little “corners” of your board for those. Mine is separated into health (food, yoga, weights), mental strength (journaling, healing, praying, positive inner voice), adventure (hunting, traveling), authenticity (self awareness, reading, facing fears, self worth). I cannot get too detailed in regards to my categories and neither should you! This should be something you look at and understand, but nobody else needs to. Just be intentional with your board. Ask yourself what do YOU want? Not what does someone else wants for you.
#5: Layer, layer, layer!
There’s no such thing as too many layers. Try to lift and tuck and make a collage, working in sections. Eventually they’ll all meet together and form something beautiful! Full disclosure: there are a few items that I covered up toward the end because something else became more important. It’s ok to do that! You don’t need to peel up a layer to replace it. Just glue over it!
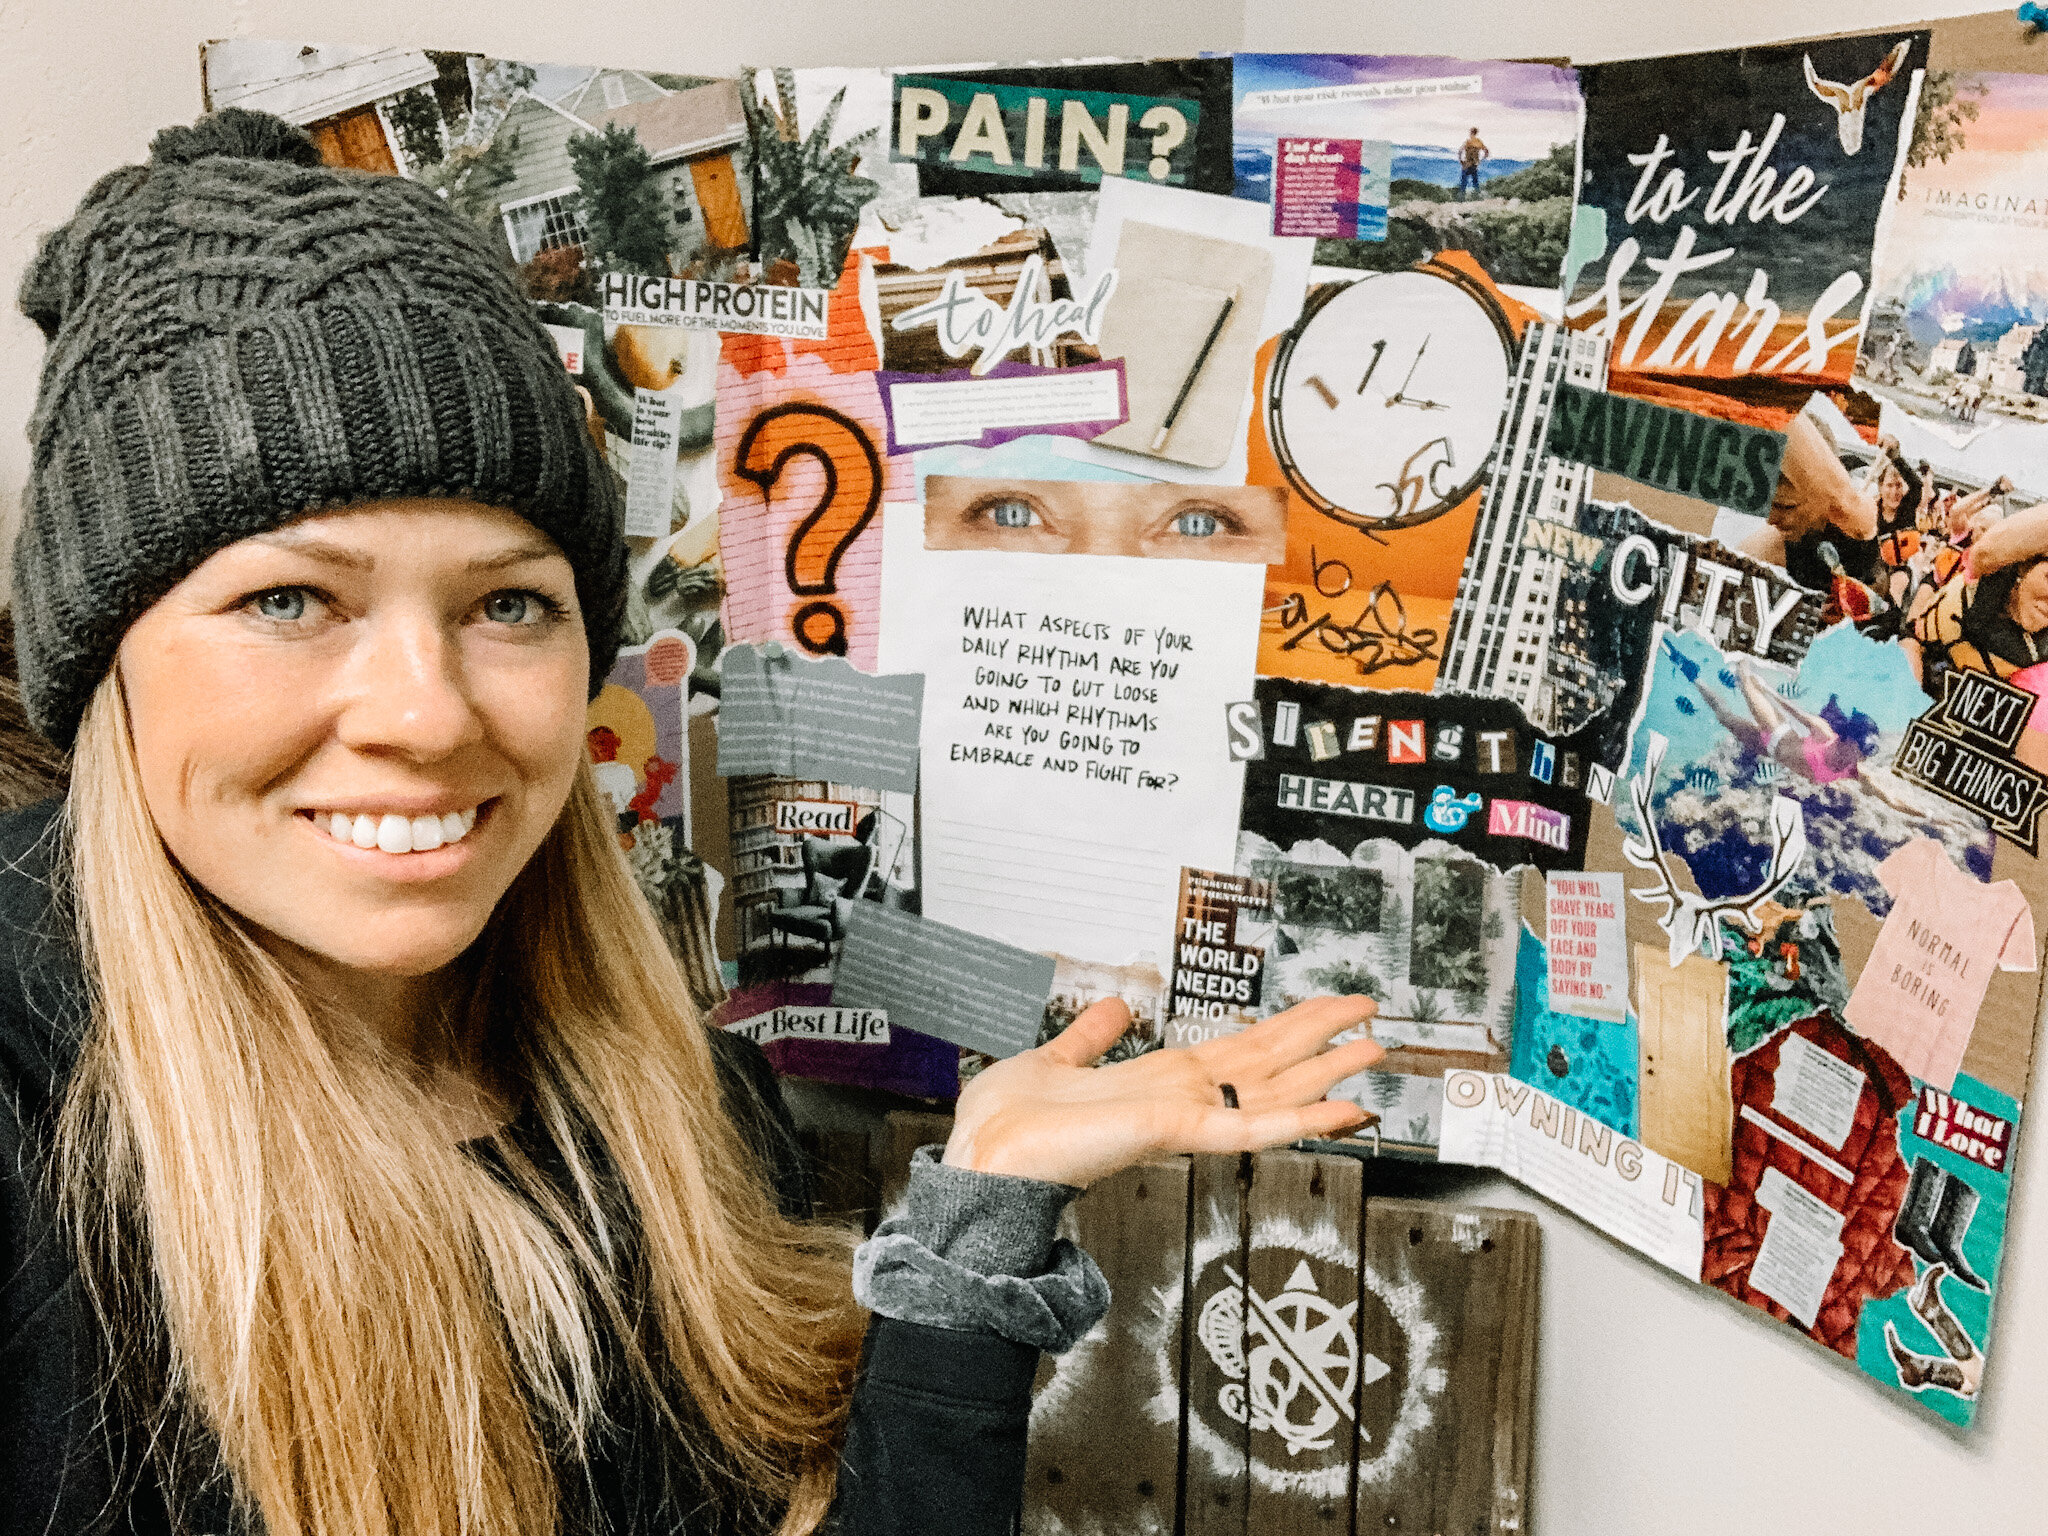
Hang it somewhere you’ll see it every day, or at least MOST days of the week! Mine is in the corner of my office.