Learning to make my own snacks for my hunts, especially jerky of any kind, has been the most gratifying thing to add to my skill set. Obviously it saves money because it’s no secret that buying it from the store is crazy expensive, but just seeing your work as a hunter taken a step further is really special! I cringe at the amount of money I’ve spent in the past on (beef) jerky, and I highly doubt I’ll be dropping my wild game off to be processed in the future after learning to simply grind my own meat. There’s so much you can do with ground meat, which is what brings me to this step-by-step for making one of my favorite snacks in the field! If you’re reading this and still don’t know how to grind your meat in order to make the tastiest meat sticks ever, start here then come back to this article!

WHAT YOU’LL NEED:
Jerky Gun: there are multiple brands out there, but I’ve been super happy with this one! It comes with two different jerky attachments in case you’d rather make strips versus sticks.
Seasoning: there are so many choices for seasoning that I didn’t really know which direction to go. I just knew I wasn’t interested in making my own for my first time ever attempting this process. Thankfully Jeremiah Doughty is a wild game chef and recommended this brand to me. They offer a lot of different options through their website, but the Mesquite flavor is my favorite so far! Also, if you go with another brand, make sure it includes the cure as well.
Meat tub: literally anything sanitary to mix the seasoning into the meat. Keep in mind we do 5lb batches at a time, so don’t go too small! This is the same tub we use for the grinding process.
Scale: Years ago, someone gave me a food scale that maxes out pretty quick (it won’t even read 5lbs), so I measure 1 pound at a time, 5 times to get to 5lb batches of jerky. Ideally, you’d want one that can handle a little more weight for convenience.
Gallon Size Ziplock Bags: You can never have too many gallon bags sitting around the house when you’re a hunter or angler. It’s not an absolute must-have, but you’ll see how I utilize them in this process.
Sharpie: to write on the ziplock bags
Traeger Grill: I have several different Traeger grills, and I mostly use my Pro 575; however, any of the models will get the job done. Pick one that fits your lifestyle! For example, we also have the Ranger model that stays in the bed of my truck 24/7, but it would significantly reduce the size of batches I’m able to smoke at a time.
Pellets: an obvious item, but something you may not think of if you don’t use your smoker regularly!
Smoke Shelf: this is going to depend on the grill that you use because they come in different sizes, but this one fits the Pro 575 great!

Smoke shelf not pictured.
Vaccuum Seal: if you plan to eat the sticks pretty quick, then this isn’t necessary; however, we made a TON and wanted to freeze 10-12 sticks per package to last us through season (and hopefully afterwards)! I can’t imagine making a small batch of jerky because of the amount of time it takes. Might as well knock out a bunch at one time! Side note: stay away from older models of the FoodSaver! I can’t speak for the new models, but the one we had wasn’t living up to the airtight standard, even when we double sealed it. We’ve been using this Cabela’s model for the last two rounds and it has been wonderful so far!
Vacuum Bags: I really like this roll of Cabela’s bags with a built in cutter. We use the 8” size for the sticks, which is also a great size to have for steaks and other cuts while processing all wild game. I recommend this style over the precut bags so that you can make the sticks any length you want!


DIRECTIONS:
Once you’ve ground up your venison, weigh out 5lbs at a time and mix in the seasoning + cure packets. If your’e using the suggested seasoning that I linked above, the correct amount is already measured out for 5lbs. However, if you use an alternative jerky seasoning, make sure to read the directions carefully. I’ve recently tried another popular brand (this one to be exact - which I didn’t like as much) that packaged their seasoning for 15lb batches, so I had to measure out the seasoning & cure into thirds (no I didn’t actually measure - just eyeballed it).
Using a sharpie, label a ziplock bag with the flavor of seasoning for that batch. Close the bag, flatten it out a little bit (so you can easily stack the different flavors in the refrigerator), and let it sit overnight in the refrigerator. This gives the seasoning time to soak in, but it’s also a really nice break in the long process of making jerky of any kind, especially if you’ve ground the meat the same day too!
Start your grill and leave it on 160 degrees (the lowest smoke setting on a Traeger). Don’t forget to fill your grill with plenty of pellets!!! They’ll be smoking for several hours.
While the grill is heating up, fill the jerky gun with your flavor of choice. We did a “test batch” of each flavor by filling the jerky gun one time for each ziplock bag (one ziplock = 5lbs of meat = it’ll take 3-4 times of filling the jerky gun to get through one ziplock). Luckily, we didn’t ruin one single batch, so I’d like to think you can skip the testing phase and just go through one entire ziplock bag at a time. Totally your call though!
Place the remaining meat (in the ziplock) back in the refrigerator to keep the meat cool until it’s time to refill the gun.
On your jerky rack, squeeze the desired length of sticks (they’ll come out 2 at a time with the jerky accessory that’s included with your gun). Don’t let the sticks touch! Repeat this until you fill up the rack.
Place rack on grill and close the lid. After the first couple of hours, when the meat has started to cook on the outside, you’ll be able to place the thermometer (that comes with the Traeger) into a stick so that the internal temperature will display outside of the grill on the screen.
Keep the thermometer in that stick and shut the lid. They’ll need at least a couple more hours to cook. Most of our batches took 4-5 hours each.
When the internal temp reaches 150 degrees, remove the jerky rack.
Place the sticks somewhere to cool down. We typically use a cookie sheet but anything will work.
Load the jerky gun once again and repeat steps 5-9 until you’ve gone through all of the ground meat.
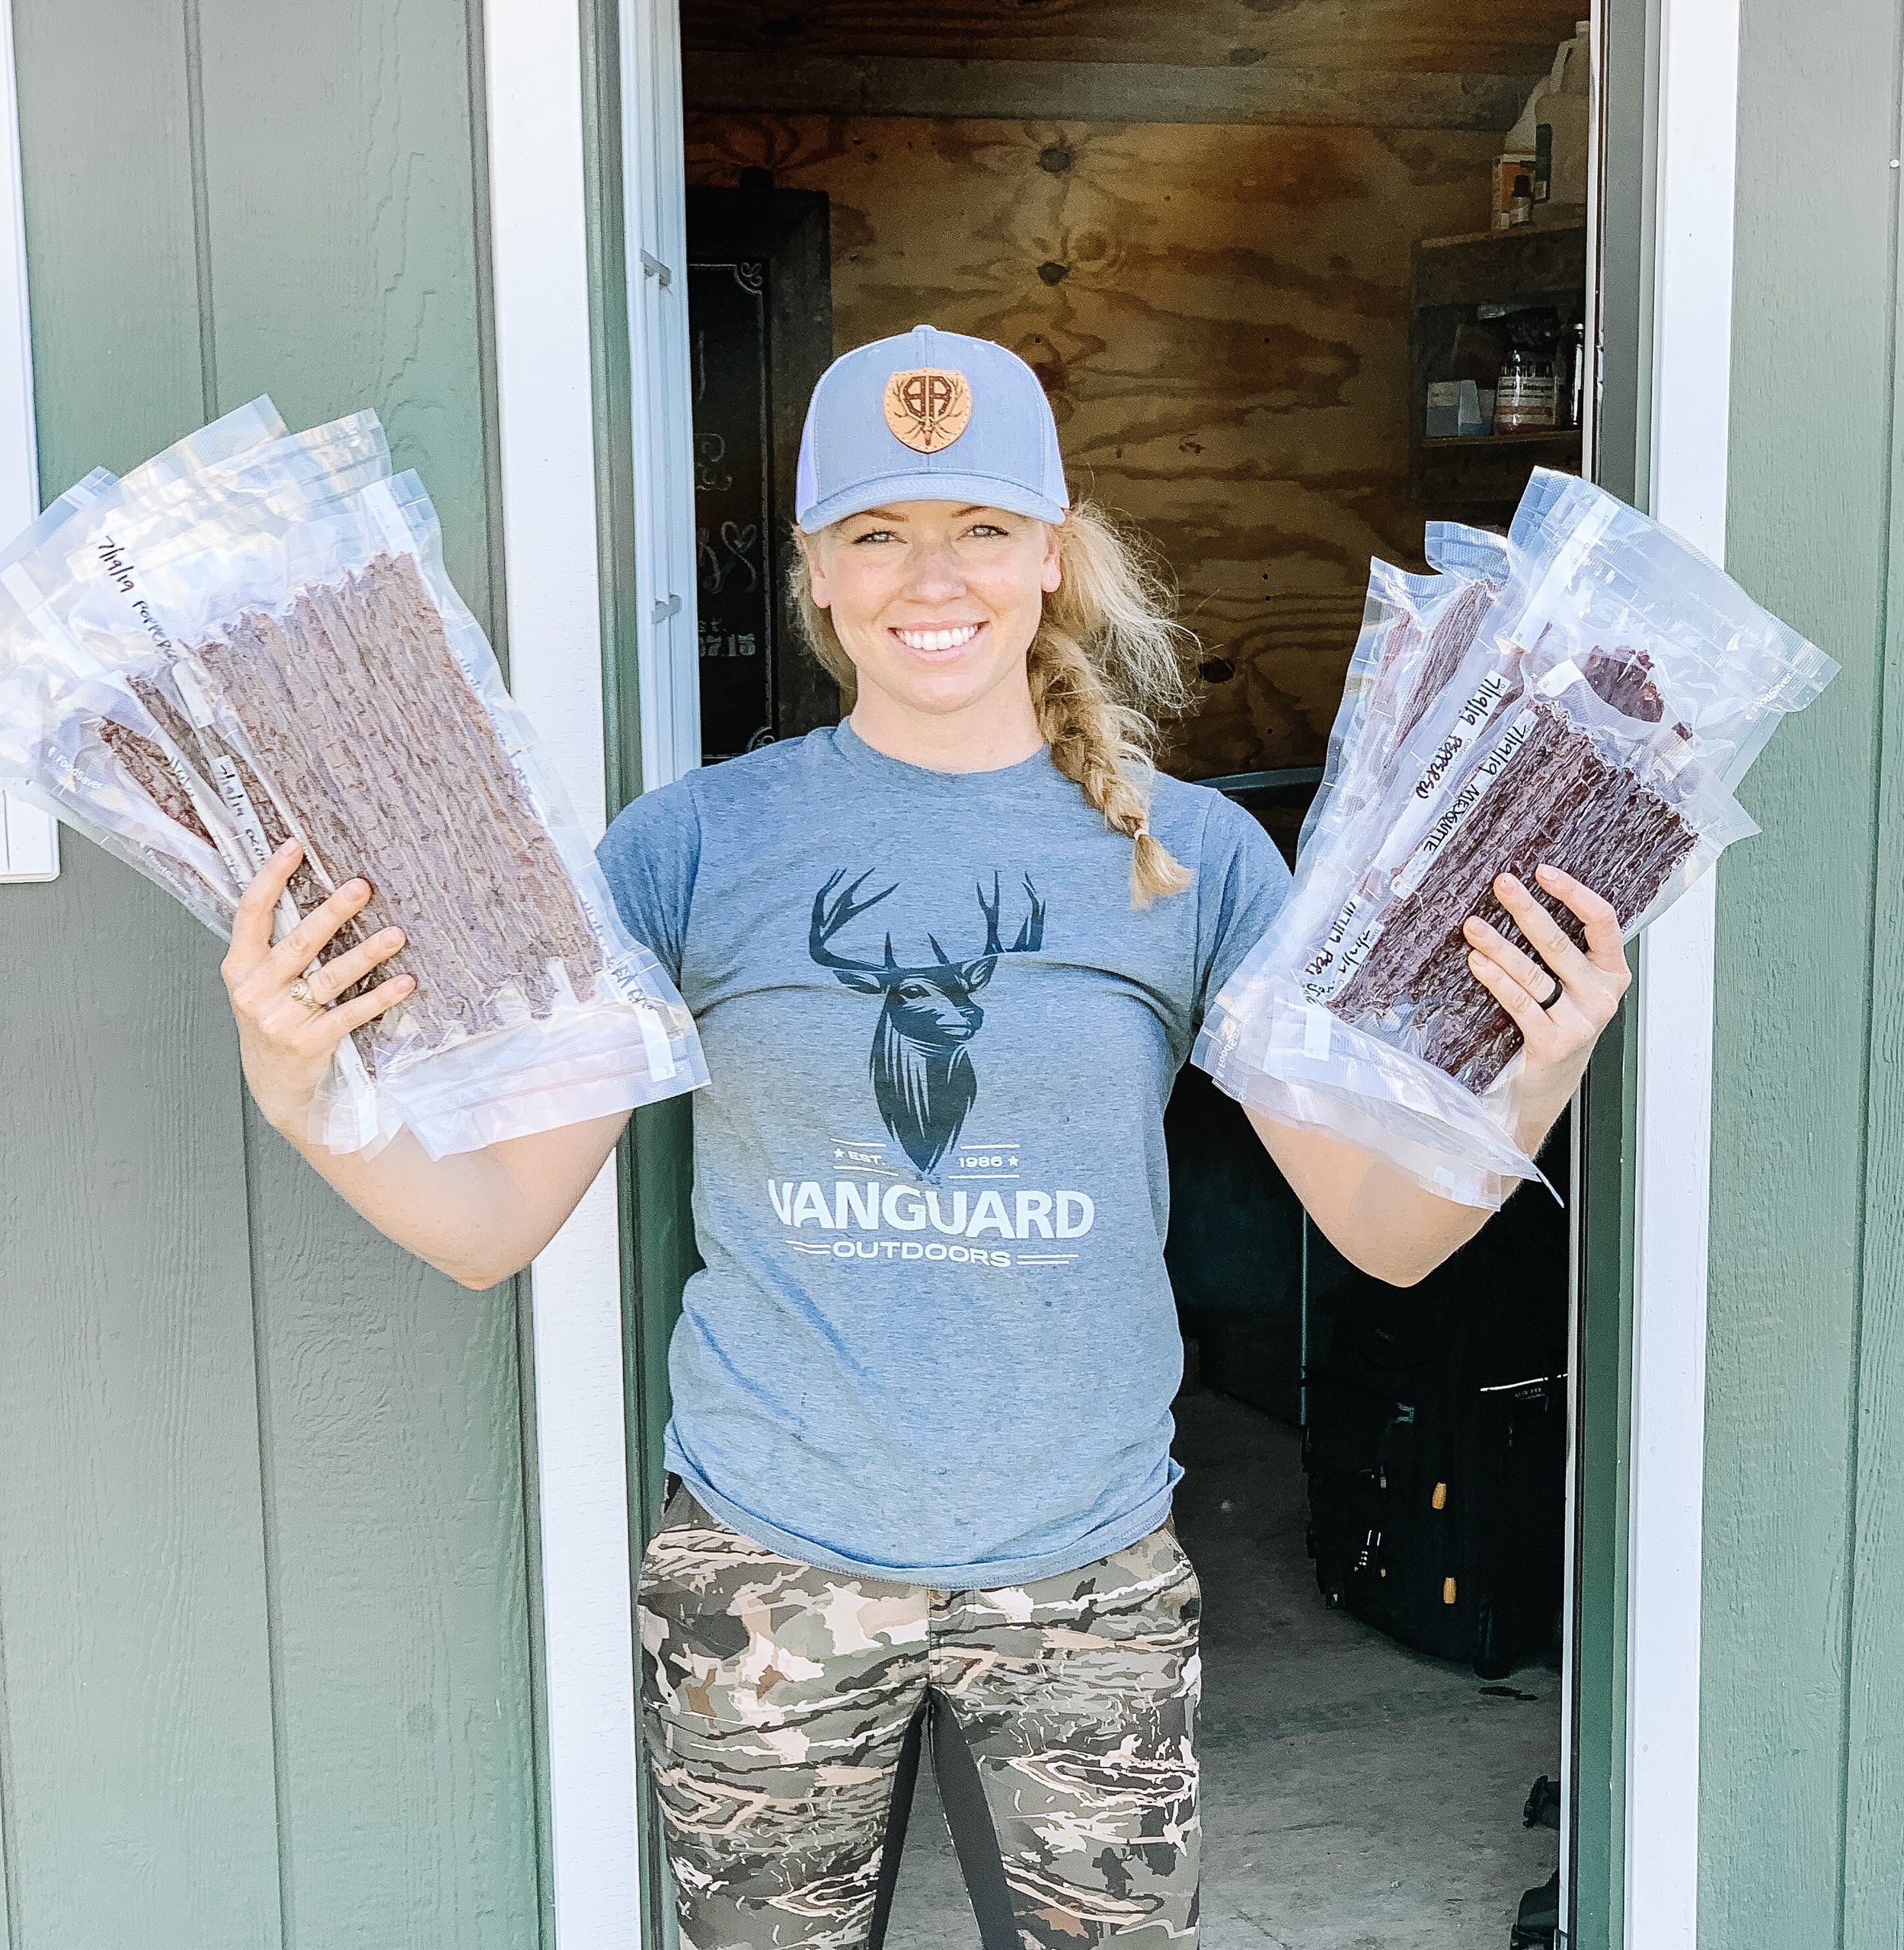
Use the sharpie once more and label a vacuum bag with the date & flavor that you’d like to package. Make sure you compare the length of the sticks to the bag before you cut it! It’s nice having the roll versus pre-cut bags because you can make whatever length you desire. Place 10-12 sticks into the bag and seal.
Place in freezer until you’re ready to consume! By the way, they thaw out quick when you’re ready!