If you've hunted for long, you've likely had someone ask you what they should invest in as a beginner archer. This is always an exciting question for me because that means one more person is putting a bow in their hands. They may not ever hunt, but they will soon understand the addiction of sending an arrow from point A to point B! I truly believe hunting is an extension of that addiction because you're immersed in the outdoors and providing food; however, anybody who simply takes interest in archery is a friend of mine!
I'm not a professional hunter or target archer, and I wouldn't recommend MY first bow to you just because it worked for me. I also had a pretty nice first bow because my husband had been bowhunting for over 10 years when he bought mine, and he wanted me to have a nice one. It's very easy to get carried away and buy the most expensive setup - I don't want that to happen to you. Unless, of course, you have the money to spend! Here's something to keep in mind: similar to putting a really expensive camera in a beginner level photographer's hand, it won't all of a sudden make you an expert. Don't be fooled by that!
Please keep these 6 things in mind (in no particular order) as you shop for your very first bow:
Go to a professional archery shop. I don't care if you have to drive 2 hours. It's worth it. I'm not referring to big name stores. Some archery shops are really nice and others are a hole in the wall, but don't judge a book by its cover. At the end of the day, they specialize in archery. Before you go, call them to see if they're available to spend some time helping you choose the right fit. Let them know you're a beginner. It's not something you want to rush! I'd also recommend going during the week if possible because as you can imagine, weekends are usually insanely busy for bow shops!
Don't get caught up in brands! You're going to hear from every person that you should get the brand that they have. Yes, I represent Hoyt and have always shot Hoyt since day one; however, what feels good to me may not feel right to you. My point is that you should not be persuaded by someone else’s choices. Period.
Figure out if you’re left or right eye dominant. You can click here to see two different methods for figuring out eye dominance. This is a mistake that I made when I started. I shoot right handed but I’m left eye dominant, which has resulted in me having to shoot with my left eye closed. The strongest shooters keep both eyes open, and if you learn with your dominant side, you will most likely be a better shot. There are times when I feel like I should start over and learn left-handed, but that’s tough to swallow considering I’m always hunting and I need to use what I know.
Shoot them all! Once they measure you for your draw length (which is just a starting point - it’s common to adjust by a 1/2 inch either way depending on your comfort), tell them you want to shoot EVERY bow available in your size. Do not feel bad about requesting this! I would at least shoot 4-5 different bows within your price range. As you shoot each one, make mental notes of what you like or don’t like about them. Below are some examples of things to pay attention to. Communicate your thoughts with the bow tech so they can help narrow down the one meant for you. I cannot say it enough - let the bow choose you.
I like the grip on this bow better than any other
This bow feels like I'm holding a sack of potatoes
I feel like it’s about to jump out of my hands when I'm at full draw (doesn't have a solid back wall)
This one has a really smooth/rough draw cycle
It just feels too big for me (probably has a large axle-to-axle for your body size)
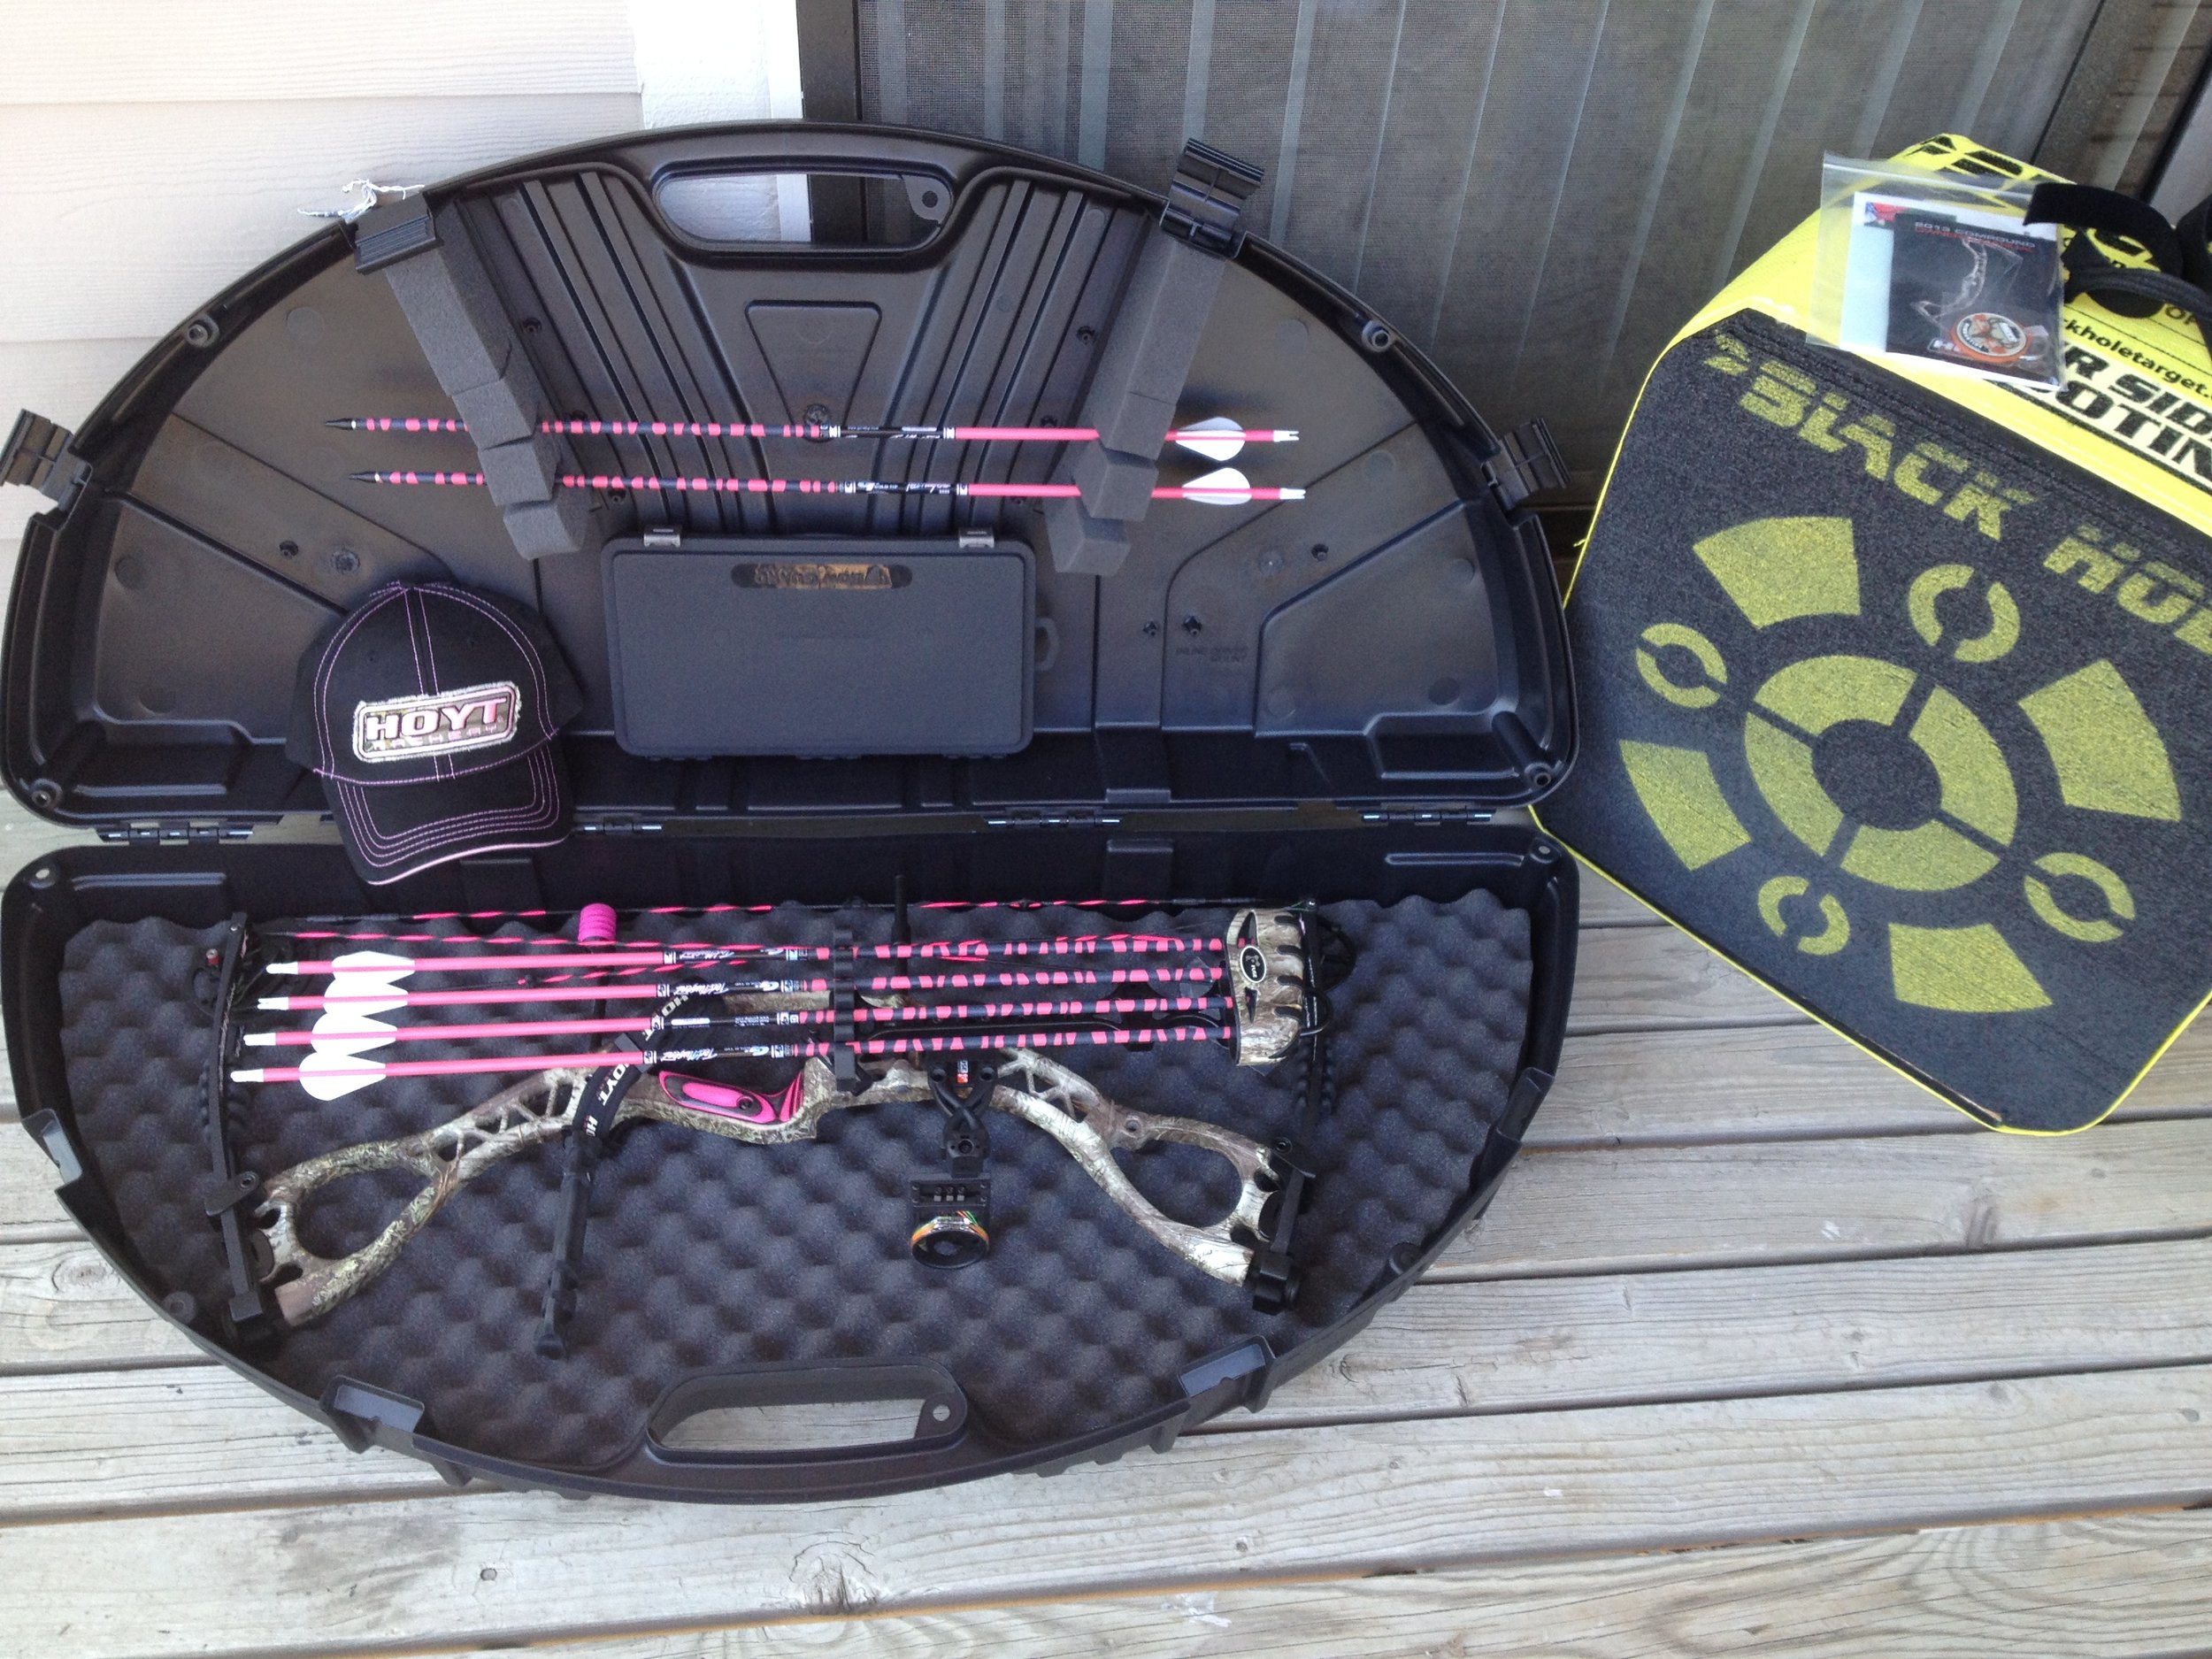
Package deals are GREAT for first timers! I used the stationary 3-pin sight and whisker biscuit rest that came with my first bow, and I killed a ton of stuff with that exact setup. I think that package even included the quiver, and the total was between $600-$700. As you get more involved with archery, you’ll see how quickly you can bust $1,500 on one bow setup. My current setup retails for close to $2,500, and that’s without my arrows, broadheads, and release included! If you don’t plan to hunt, you have even less to worry about because you won’t have to get too caught up in speed, arrow weight, etc.
Don’t get ahead of yourself. If you DO plan to hunt in the future, you don’t have to walk out of the archery shop with a setup made for hunting. You need to spend some quality time with your bow and truly learn it. It’s not likely that you’ll even be able to pull back a weight that is legal for hunting when you first start. It’s normal to start out at a lower poundage because drawing a bow is not an every day movement and those muscles aren’t strong enough yet. Another mistake I made when I started was getting a 40-50lb bow that I couldn’t draw back without my husband behind me to help me. Guys, don’t do this. Don’t let your ego get in the way. This is not a competition. If 30lbs is comfortable, then shoot the heck out of 30lbs until you feel that it’s too easy. Move up gradually and learn from my mistakes! Without the ability to draw back a legal weight, you really don’t need to be thinking about broadheads or arrow weight immediately. Revisit the archery shop once your strength and confidence is built up.
With the purchase of your first bow, I've included a small list of must-haves below in order to start shooting! The archery shop will be able to help you pick out each product; however, these CAN be purchased elsewhere. I'm not as particular about where you purchase these items as I am about going to a professional shop for your bow and having it set up correctly.
Target: It'll be tough to shoot your bow if you don't have a target to aim at! I'd recommend a bigger target for beginners because you'll have some wild arrows as you learn your weapon. It's also not a bad idea to put a bale of hay behind the target for extra coverage.
Rangefinder: invest in a SIMPLE, affordable rangefinder for accuracy. It's not necessary to buy a rangefinder that has a red laser with Angle Range Compensation (ARC) and will read out to 2 miles. You should focus on shooting 10, 15, and 20 yards starting out.
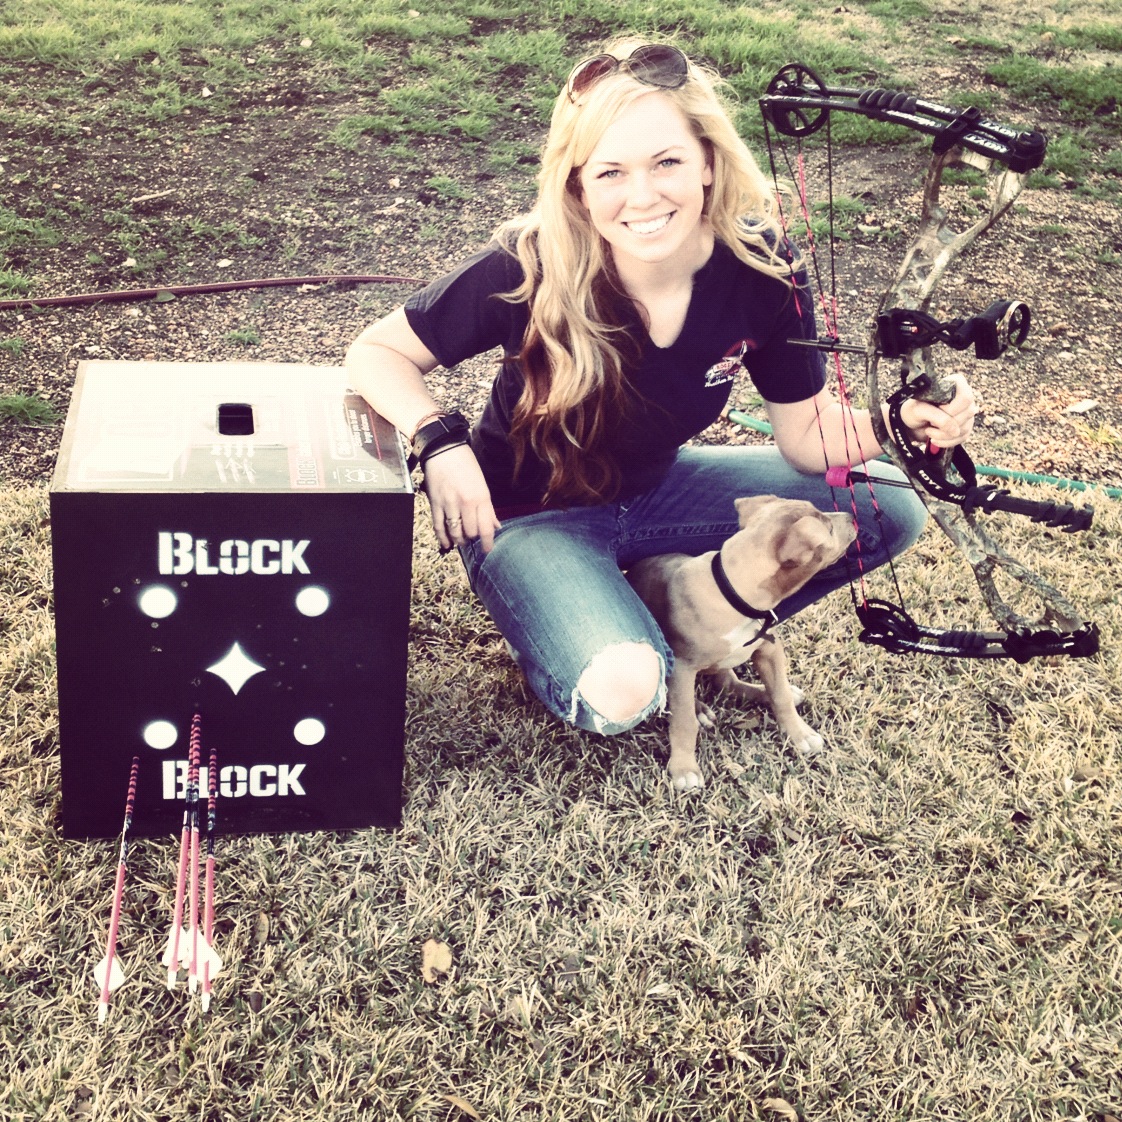
Release: similar to shooting lots of bows, I'd recommend shooting a handful of release styles. I personally shoot a thumb release now, while most beginners use a wrist release (I switched soon after the photo below due to personal preference). Just make sure you get one, otherwise you'll be attempting to pull your bow back with fingers. Ouch!
Arrows: You don't need more than a dozen arrows starting out. Honestly, 1/2 dozen is plenty if you start close enough to your target and really work on perfecting your shot. If you go straight to 20 yards, you're likely to lose them. Don't rush!
Field Points: while it may seem like an obvious item, field points are NOT included when you purchase arrows.
FYI: I will be writing a follow up blog (possibly multiple) on how to start bowhunting, for those of you that want to venture into the woods. For now, get to shooting your first setup. Hopefully you'll be smiling as big as myself when you're finally able to send a few into the target! The photos below are from January 2013, shortly after receiving the best birthday present ever! Be sure to subscribe to the mailing list at the bottom of the page so you're the first to know about new content.


