

A couple months back my cousin Darrell sent me a link to the Train To Hunt event coming to Texas and asked if I'd be interested. He's a crossfit guy, loves elk hunting, was born and raised in Texas, and knows the struggle every time we head to the mountains because we're flatlanders, and training (to some degree) isn't an option for success while chasing big bulls out of our home state. After watching a video link with a teaser of what the event entails, I'm 99.9% sure I texted him back "oh hell no," or something along those lines. Ha! I was intimidated to say the least.
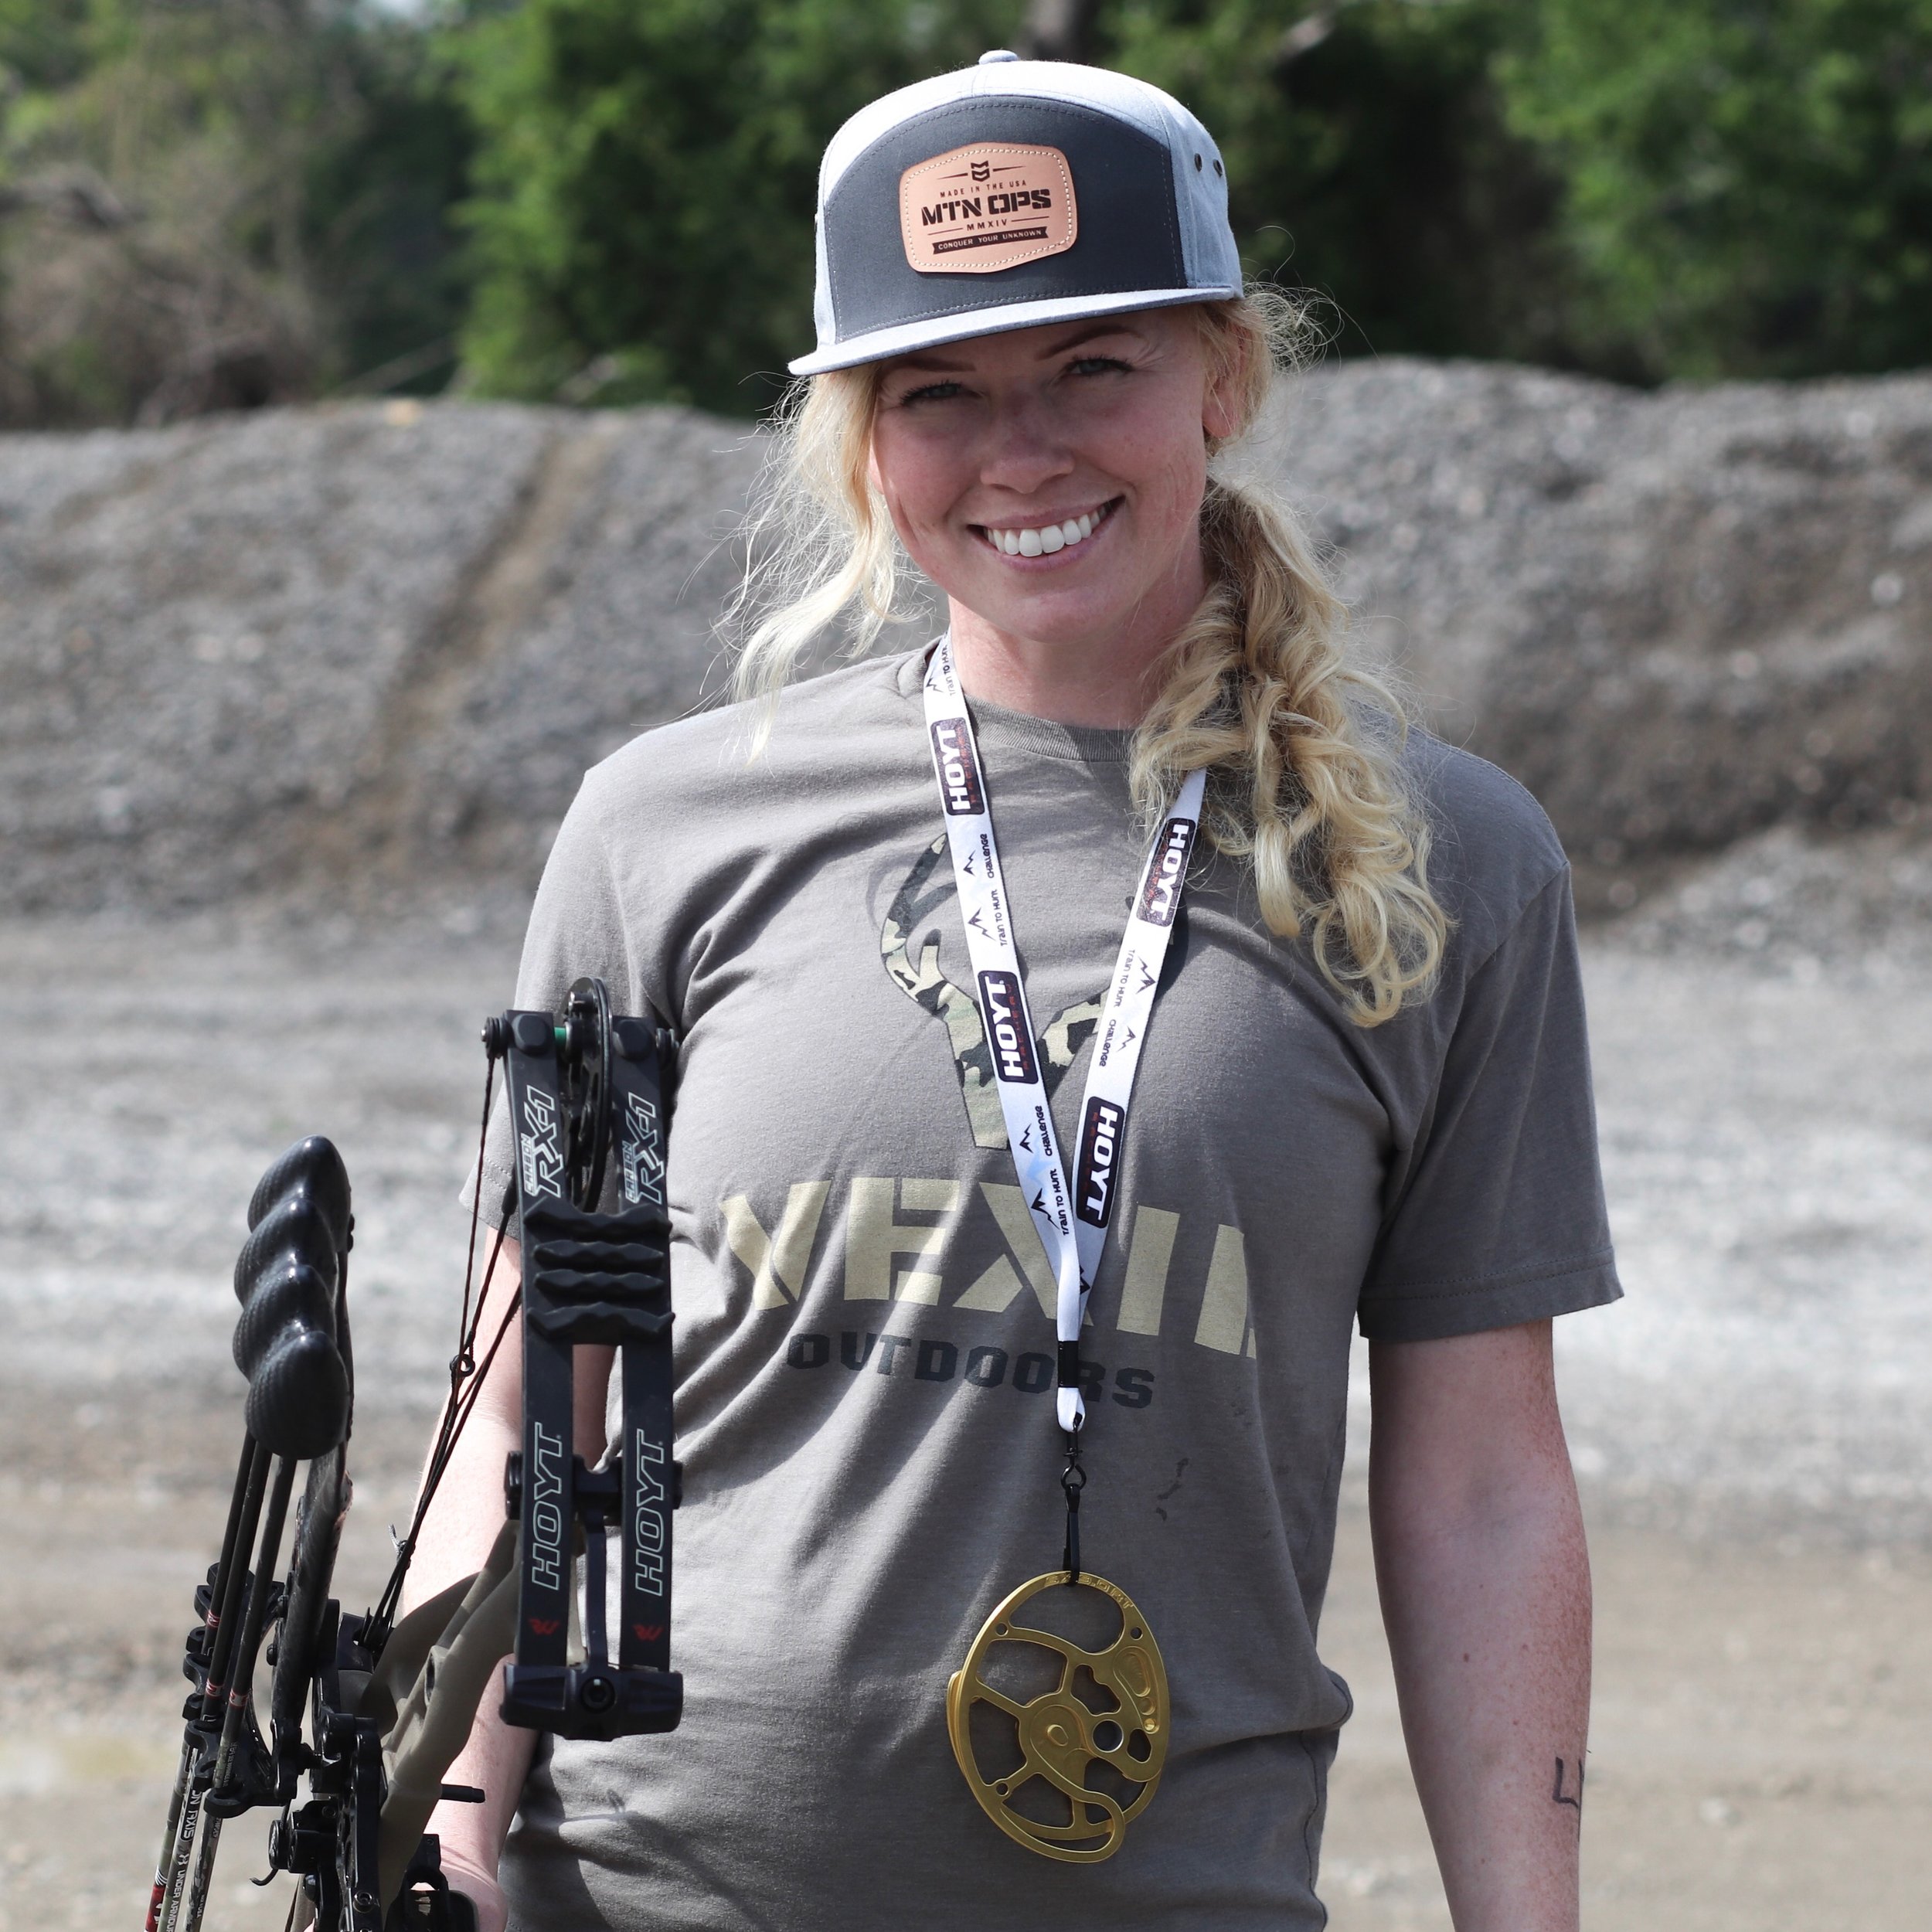
At that time I was in no place to compete, but I have to appreciate a challenge and I figured I'd start training to see how I felt as it approached. After all, I knew I was headed to Australia and New Zealand the entire month of May, so I needed to be building my endurance anyway. I began to train, only to immediately feel defeated. I wanted help in the form of a mentor that had "been there, done that" to feel prepared. That's when I reached out to Courtney LeVesque, who won the women's national title a couple years prior. Impressed? Me too. She's a beast, and that beast trained me all the way through today, where I showed up to compete in the Texas event and finished 14th overall. If you're interested in working with Elevation Fitness Training, contact Courtney here.
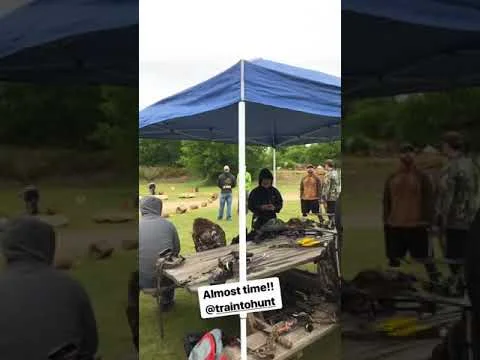
I had so many questions, concerns, fears, etc leading up to this event because I didn't really know what to expect. Even having a coach with a title didn't take all the uncertainty away. There's a group meeting the morning of the event, right before it starts, where they will cover any and all questions you may have, but I'd like to go over a few of those items and provide some clarity BEFORE you show up to hopefully ease your mind.
For starters, scroll to the bottom of this link for a very detailed description of the day, straight from the Train To Hunt website. The easiest way to think of this event is in TWO parts:
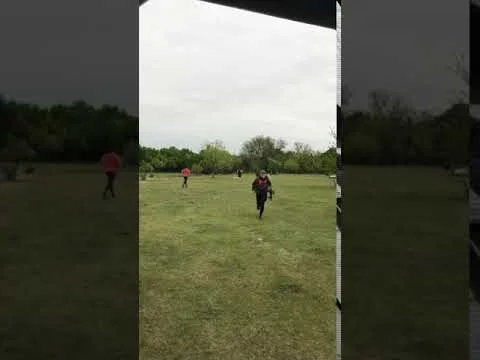
Challenge Course // 4 rounds of challenge movements + weighted mountain run; timed from start to finish
3D Course // shoot 20 foam targets at different distances and positions; go at your own pace
The remainder of this blog article will tell you exactly what you need on hand for each part; some items are intentionally listed in both sections because they are needed throughout the entire competition.
PART 1: CHALLENGE COURSE MUST HAVES
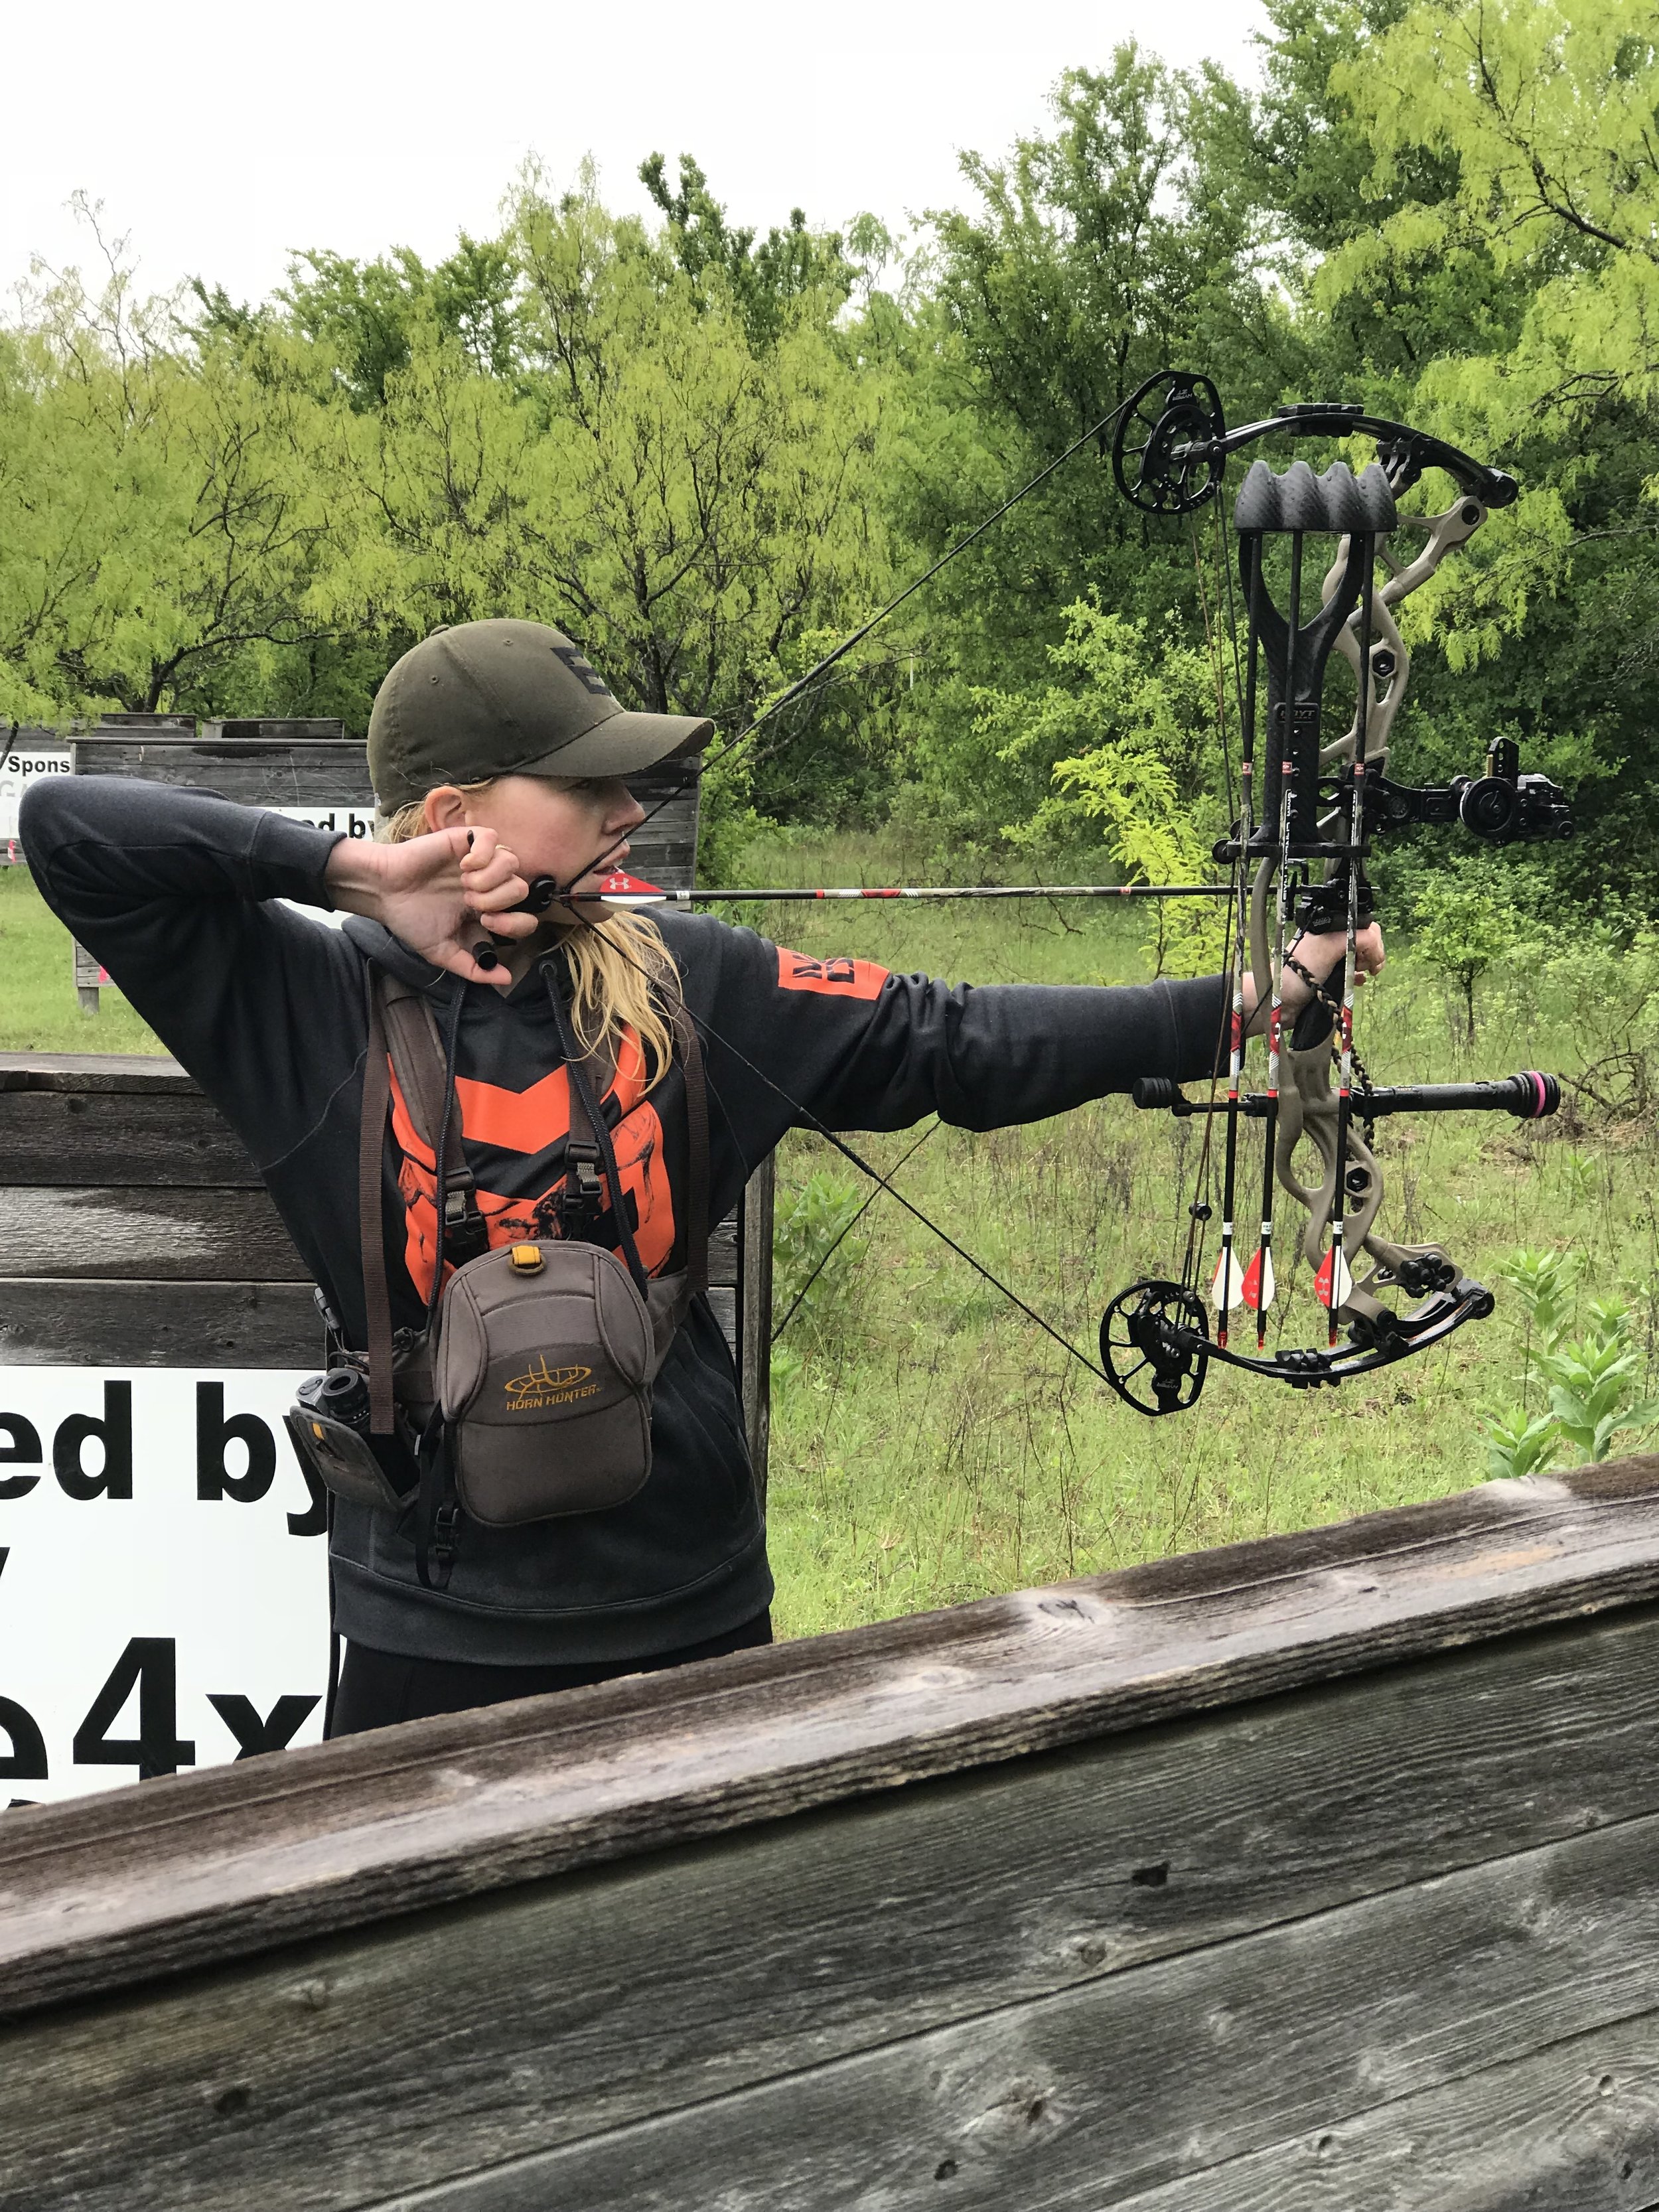
A pack with a frame that fits YOU and has compression straps. DO NOT, for any reason, sweep this aside. The last thing you want is a pack with poorly distributed weight that's all on your shoulders and bouncing around as you're trying to complete the course. You risk injury and it'll hurt your overall time, I promise. Spend some time on this one - I intentionally listed it first.
Compound or traditional bow. I did not shoot traditional, but I can tell you that if you're shooting a compound it'd be best to be dialed up to 60 yards. Traditional archers won't shoot as far, but will have equally challenging shots. Most compound bow shots are between 20-40 yards.
6 arrows. You will shoot 1 arrow after each challenge movement. There are 4 challenge movements: 1) over the box step ups, 2) ground to shoulder box overs, 3) burpee box overs, and 4) sandbag get up box overs. You will then shoot 2 arrows during your mountain run immediately following those challenge movements, totaling 6 arrows for the entire challenge course. It's not necessary to bring more arrows, but you certainly CAN if you'd like to.
Arrow storage. Think about HOW you want to carry your arrows. Please note: during the 3D course (part 2 of the event), it's not required that you shoot with a quiver on your bow OR on your hip. HOWEVER, if you choose either of these, you MUST do the same during the initial challenge course (part 1). In other words, if you want to shoot with a hip quiver during part 2, you will have to run with that same quiver on your hip through part 1. I DO NOT RECOMMEND THIS! Most competitors either store the arrows in their bow quiver (if they use one) or put them in their pack with the fletchings sticking out for easy access. Another note: there will be orange cones available to hold your arrows during part 1 if you'd like to use them. My recommendation (and what I noticed 95% of competitors doing also) would be to put 4 arrows in your orange cone at the start of the event and keep 2 arrows in your quiver (or in your pack if you don't shoot with a quiver on). This setup allows for easy access to 4 arrows - one after each challenge movement - then 2 arrows will be ready to go for a quick transition into the weighted mountain run to complete part 1 of the competition.
Rangefinder. While I normally store my rangefinder in my chest harness next to my binos, it's unnecessary to have your binos during the challenge course. I didn't want the extra weight on me, I didn't want to do burpees with them on my chest, and I definitely didn't want them bouncing around while I was trying to run. I saw many people keep their rangefinders in their packs or pockets, and around their neck (this seems so uncomfortable to run with but I saw it). I personally wore leggings with elastic pockets on my quads, which my coach recommended and I was VERY happy with!
Release. Nobody addressed the difference in storing a wrist release versus a thumb release. Again, something to think about beforehand. I put my thumb release in the other elastic pocket on the quad of my leggings for easy access. Other options would be a regular pant pocket or maybe a pocket on the belt of your pack. If you want to put the thumb release on the ground next to your bow or attached to your D-loop during the first 4 challenge movements, that's fine too, but just know you will be running with your bow in your hand after your 4th shot, so there needs to be a plan for the following 2 shots on the mountain run. Clipping your thumb release to your D-loop during the run is not a smart choice. Think this through so you don't misplace this very important item!

PART 2: 3D COURSE MUST HAVES
Compound or traditional bow.
Arrows: however many you think you'll need to get through 20 targets. I used 4 because my quiver only holds 4 and I was confident I wouldn't lose all of them before completing the course. Others took 6-8. This is up to you.
Arrow storage: some options are to use a bow quiver, carry them with your hands, or in your pack (you don't need a pack for this part of the competition but you are more than welcome to carry for arrow storage). The 3D course doesn't involve any kind of fitness or running so it should make it easier to plan around. The timer stops after part 1, so there's no reason to rush during part 2.
Chest Harness: If you don't ever hunt with a chest harness, just forget about this item. The last thing you want to do is change up what you normally do on the mountain. The whole point of this event is to mimic real hunting situations. I'm including the harness because it's a game changer in the field for me and I feel that a huge chunk of people use them as well. I like organization and it stores my binos and rangefinder very close with easy access. Today, I put my harness on right after I completed part 1. There are roughly 20 minutes in between part 1 and part 2 of the competition, allowing you to adjust your gear, grab a snack, go to the bathroom, etc.
Rangefinder: most stations allow you to range the foam target before shooting. Don't forget this!!
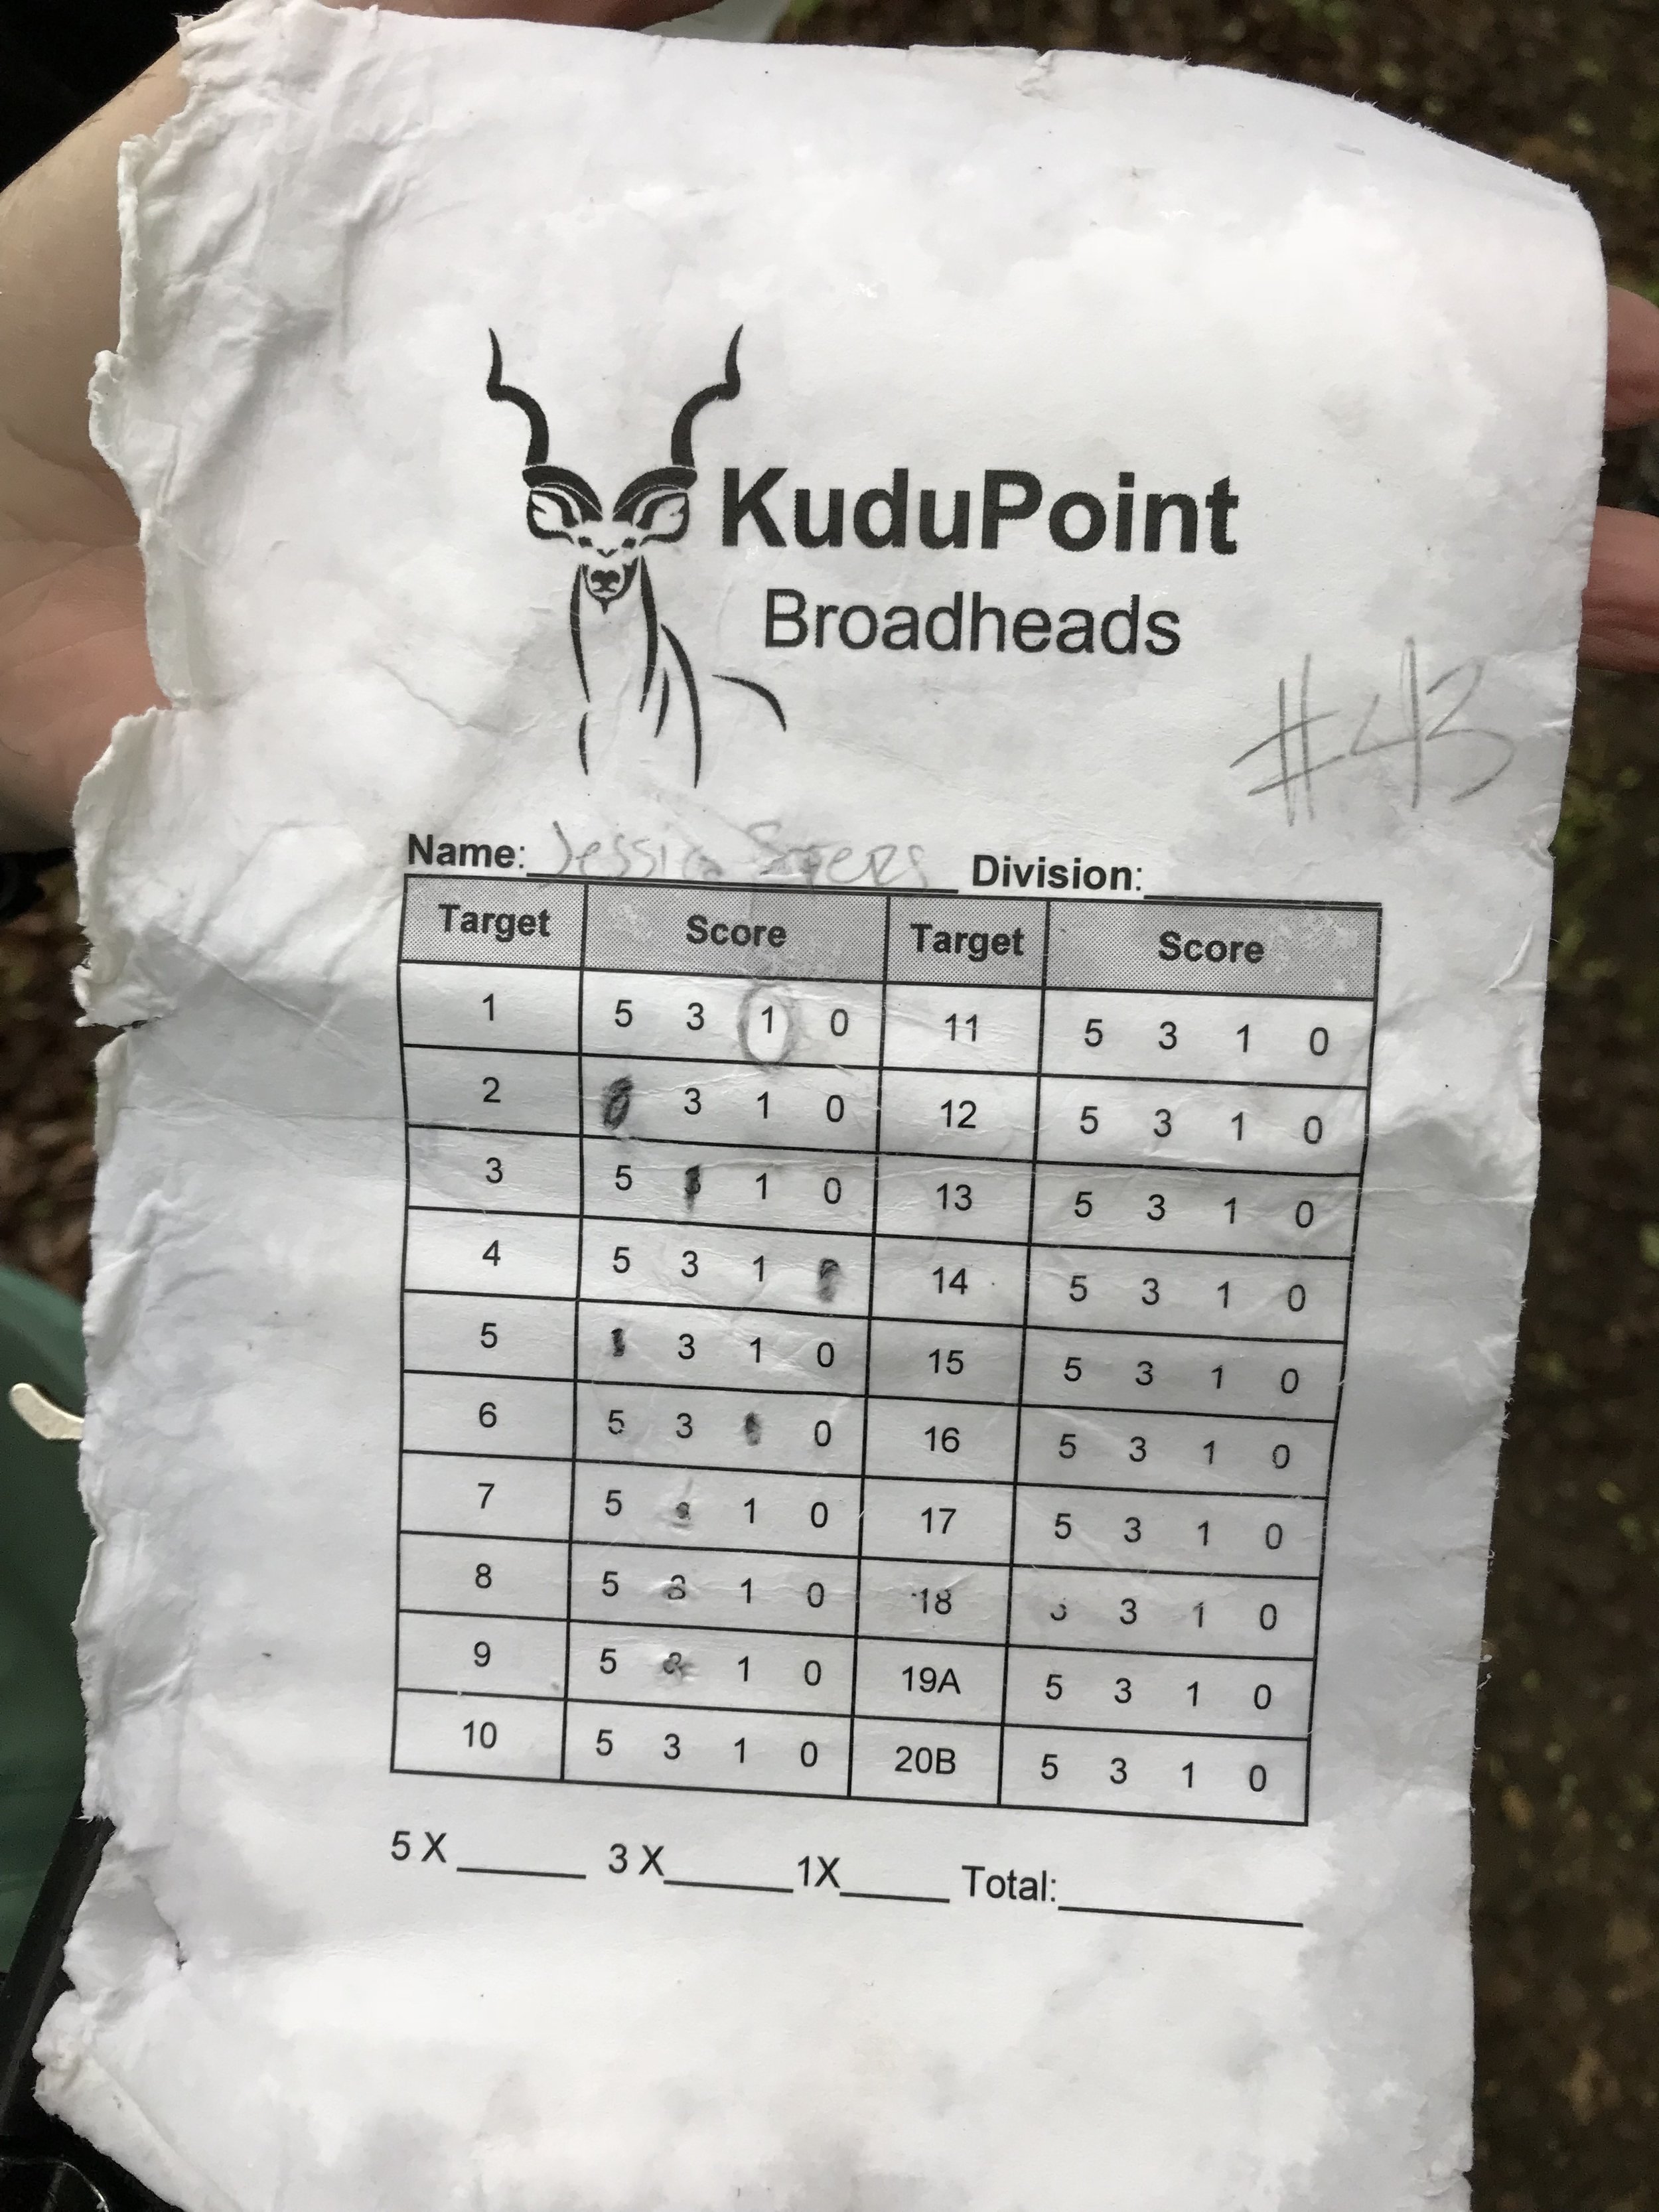
Binos: points are HUGE for the 3D course. 5 points for a heart shot, 3 for lung shot, 1 for anywhere else that hits foam, and 0 for missing. Without having to explain how they come into play for the overall competition, just trust me that it's important to take the time to review the vitals on each target. I can tell you that I made several amazing shots for real-world applications (lower 1/3, right behind the shoulder), but for shooting 3D they weren't the best and it took a toll on my overall score.
Release: again, think about storage if you're shooting a thumb release. It's not necessary to have a pack for this part of the competition (unless you're carrying your arrows in your pack or simply want to keep it on), which eliminates one of the options that I mentioned initially. Think about a secure place to store your thumb release so it doesn't go missing in between targets. If you shoot a wrist release, you're obviously good to go!

OTHER IMPORTANT ITEMS
Water: I feel ridiculous admitting that my CamelBak was already empty before the event ever started! Bring more than you think you'll need! It's impossible to be too hydrated. As long as you drink enough before the timer starts, you should be able to make it through part 1 without carrying any water on you. If it's really hot on event day, put a few ounces of water in a CamelBak on your pack for convenience, or throw a bottled water on the ground next to your bow/pack during the challenge movements.
Supplements: I made sure to have my Yeti pre-workout before the event started, which comes in these convenient trail packs. I also took my Phenix immediately after part 1 to help with muscle recovery.
Snacks: You're responsible for your own food. I had easy finger foods on hand to eat in between part 1 and part 2 of the event. Examples: boiled eggs, macadamia nuts and sunflower seeds, summer sausage, string cheese, etc. I noticed many people brought soft sided coolers full of yummy food too! There will be down time for you either in the beginning or the end, depending on what group you're in. Be prepared to fuel your body!
Rain Gear: it was pouring rain during the event today (even hailed at one point) and I didn't have anything but a sweatshirt. I couldn't keep my stuff dry, which caused several problems: my rangefinder wouldn't read at some stations, our score cards were soggy and my binos were fogging up at times. Just take my advice and keep a rain jacket on you if the weather is supposed to be nasty. I regret not doing this!
Change of clothes: I was soaking wet from head to toe, muddy, sweaty, and everything in between. Thankfully I had an overnight bag and could at least change my shirt and hat. Pants would've been great, and it's not a bad idea to bring another pair of shoes too!
Camera: as a social media influencer, I carry one everywhere. Several people were saying they wish they had one, so I'm just adding in case you want to document your accomplishment!